How to Use Filters on the Assessment Page.
When managing assessments, having the ability to filter and customize the candidate details you see is crucial for efficient evaluation. Here’s a detailed guide on how to access and use the filter options available on the assessment page.
1. Login to Your Workspace
Begin by logging into your Testlify workspace with your credentials.

2. Navigate to the Assessment
Once logged in, go to the specific assessment you want to view. Click on the assessment to open it.

3. Access the Candidate Details Section
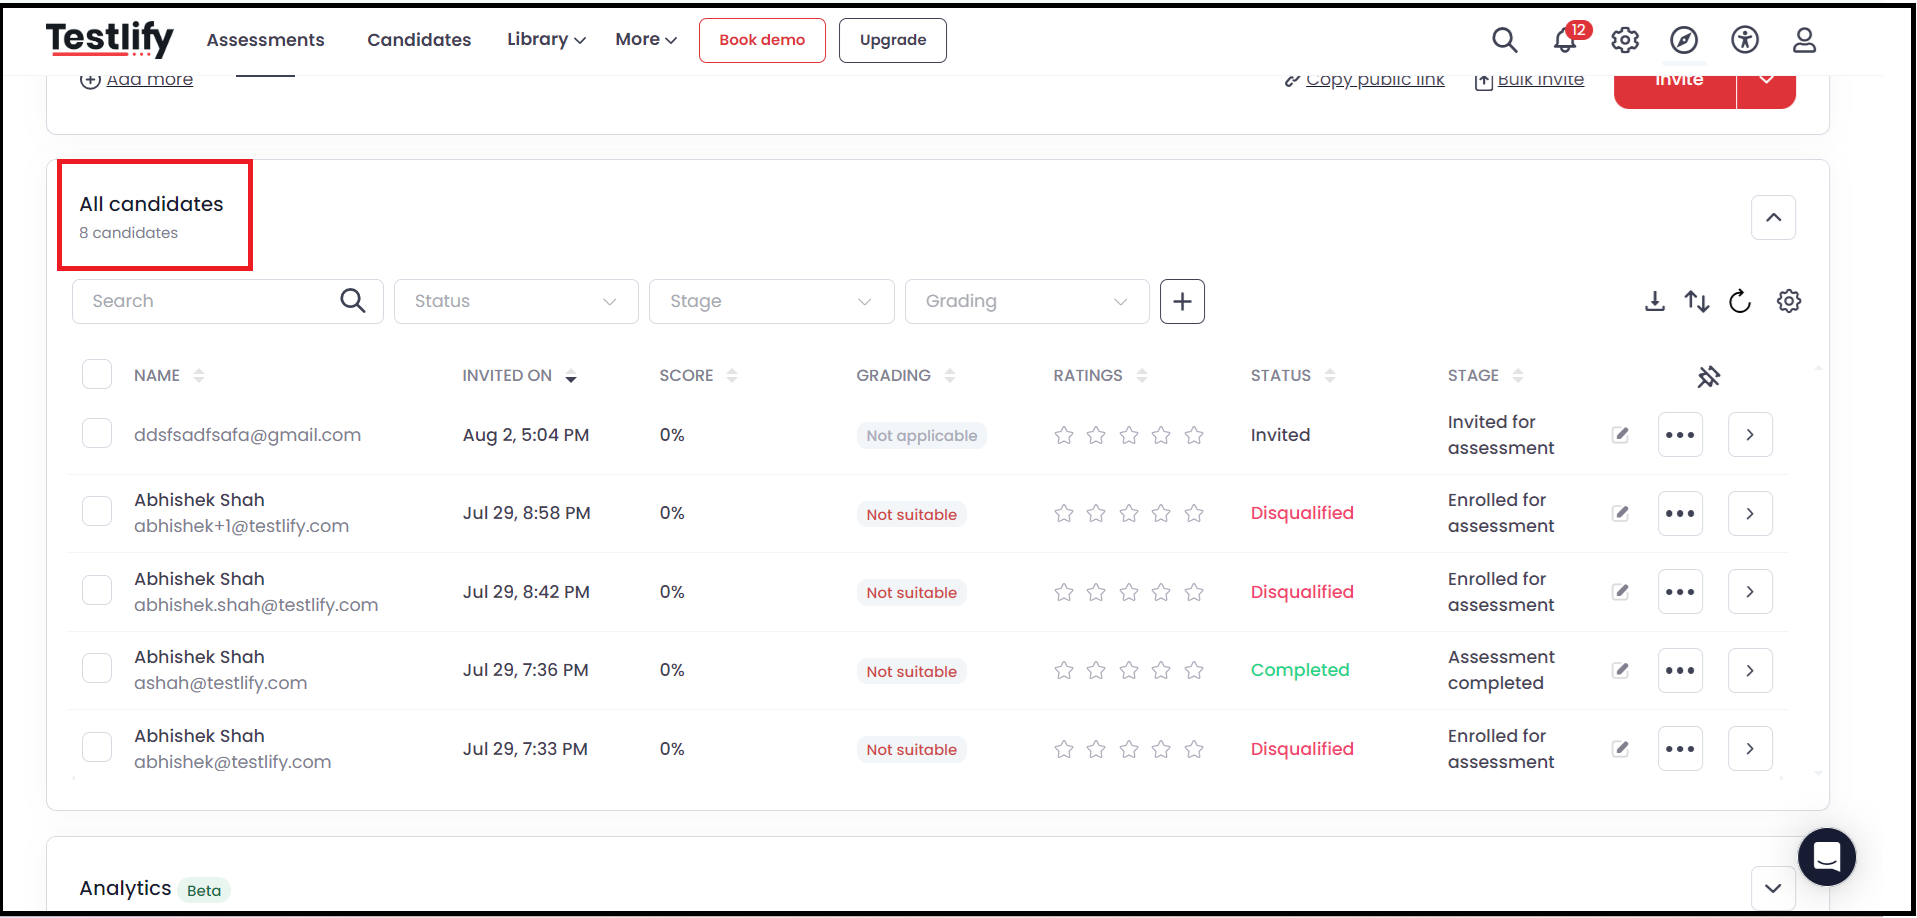
Scroll down the page until you reach the "All Candidates" section. This is where all candidate details related to the assessment are displayed.

4. Reveal Filter Options
On the right side of the "All Candidates" tab, you’ll see a settings icon. Click on this icon to reveal the filter options. By default, the following columns are selected: Name, Grading, Invited On, Score, Stage, & Status.

These default settings provide a general overview, but you can customize the view further to meet your specific needs.
5. Customizing Your Filter Table Columns
You can enhance the candidate details displayed by selecting additional filter options. Here’s a breakdown of what each filter offers:
1- Name: Candidate’s full name (selected By default)

2- Additional Information:
- Email: The candidate's email address.
- First Name: Candidate's first name.
- Last Name: Candidate's last name.
- Phone Number: Candidate's contact number.

3- Completed On: The date and time when the candidate completed the assessment.

4- Duration: How long the candidate took to complete the assessment.

5- Feedback: Provides additional feedback options:
- Comment: Any comments left by the reviewer.
- Rated On: The date when the assessment was rated.
- Rated By: The person who rated the assessment.
- Ratings: The overall rating given.

Gradings: Detailed grading breakdown for the candidate.

Invited By: The user who sent the assessment invite.

Invited On: The date and time the invitation was sent.

Label: Custom labels you’ve assigned to the candidate.

Mobile Number: The candidate's mobile number.

Score: The candidate’s assessment score.

Stage: The current stage of the assessment or hiring process.

Status: The candidate’s assessment status (e.g., completed, pending).

Test Section: Detailed breakdown by sections, it gives you further option to filter as per the test you have crested.
Conclusion
The filter options on the assessment page allow you to tailor the candidate information displayed according to your needs. By using these filters effectively, you can streamline your assessment review process, ensuring you have all the necessary data to make informed decisions.