How to Select Your Region When Registering on Testlify
When registering on Testlify, selecting the correct region is an essential step to ensure your account aligns with the appropriate geographical location. This helps in tailoring your experience, ensuring compliance with local regulations, and optimizing data handling.
Follow this guide to choose your region correctly during the registration process.
Steps to Select Your Region During Registration:
-
On the Register page, fill in your details, including your first name, last name, business email, and phone number.
-
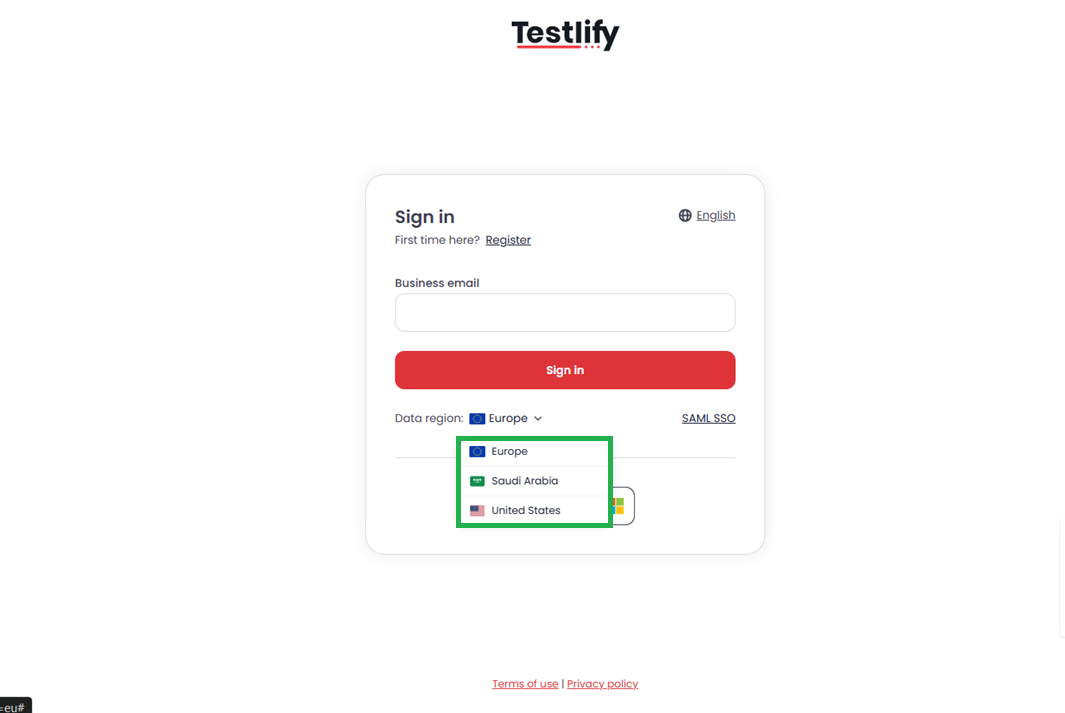
Below the phone number field, you'll find the Data Region dropdown menu.
-
Click on the dropdown and select your preferred region {e.g., Europe, Saudi Arabia, & USA} from the available options.
-
Once the region is selected, proceed to complete your registration by clicking the red Register button.

Important Note:
After completing the registration process, the region you selected will automatically be associated with your account. You won’t need to select it again while logging in, as the system will apply your default region automatically.
If you have any questions or need assistance, feel free to contact our support team at support@testlify.com. We’re here to help!