How to Set Up a Schedule Invite for an Assessment
Scheduling invites allows you to control exactly when candidates can start an assessment. This feature is useful for creating a fair testing environment (e.g., all candidates start at the same time) or for delaying access until a specific condition is met.
Below is a step-by-step guide to configuring schedule invites for your assessment.
Step-by-Step Guide
Step 1: Login to Your Workspace
Go to your platform’s login page and enter your credentials. Once logged in, you will land on your main dashboard.

Step 2: Select the Assessment
Navigate to the Assessments section (usually in the left sidebar). Find the assessment you want to modify and click on it to open its settings.

Step 3: Click on Edit
On the assessment detail page, look for the Edit button (often a pencil icon or text link). Clicking this will take you to the assessment builder or setup page.

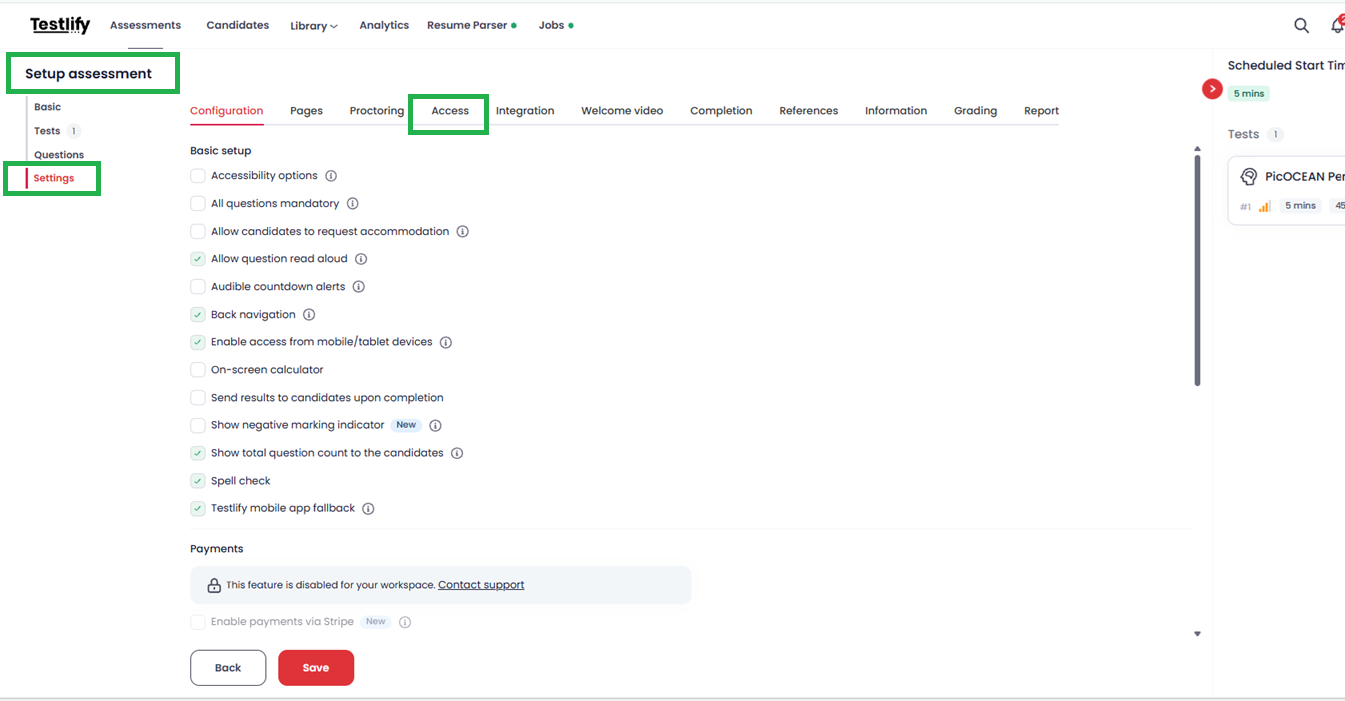
Step 4: Go to Settings > Access
Under the Setup Assessment page:
- Locate the Settings tab (typically at the top or left side of the page).
-
Inside Settings, click on Access to open the access control options.

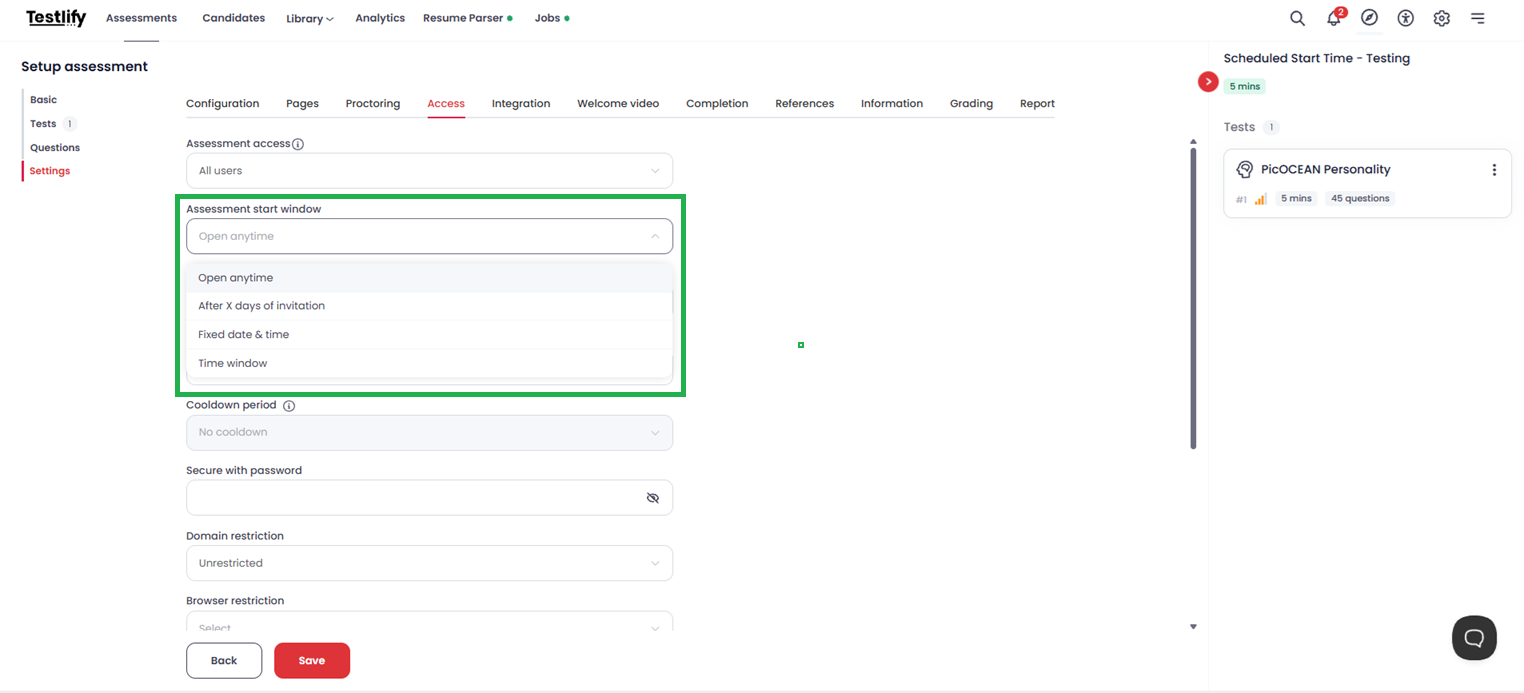
Step 5: Configure the Assessment Start Window
Under the Access section, find the Assessment start window option. Click on the dropdown menu to reveal four scheduling choices:
a) Open Anytime (Start anytime after invitation)
- What it does: Candidates can begin the assessment immediately after receiving the invite link. There is no waiting period or fixed start time.
-
Best for: Flexible, untimed hiring processes or practice tests.
b) After X days of invitation
- What it does: The invite becomes accessible only after a set number of days have passed since the invite was sent.
- How to set: Enter the number of days (e.g., 2, 5, 7). Candidates who click the link earlier will see a countdown or lock message.
-
Best for: Giving candidates time to prepare or aligning with a later hiring stage.
c) Fix date and time
- What it does: All candidates can start at the exact same global date and time, regardless of when they received the invite.
- How to set: Use the date picker and time selector to choose a specific start moment (e.g., June 15, 2026, at 10:00 AM EST).
-
Best for: Live test sessions, timed competitions, or global hiring rounds.
d) Time Window
- What it does: Allows candidates to start only within a defined range (e.g., between 9:00 AM and 5:00 PM) on a specific date or across multiple dates.
- How to set: Select the From date/time and the To date/time. The invite will only work if clicked within this window.
-
Best for: Scheduled exam slots, proctored assessments, or office-hour-based tests.

Note: After selecting any option, remember to click Save or Apply at the bottom of the page.
Conclusion
Setting up a schedule invite gives you full control over assessment timing, improving test security and candidate experience. Whether you need open access, delayed start, a fixed global time, or a restricted time window, the Assessment start window dropdown in Settings > Access provides a simple and effective way to manage it.
Choose the option that best fits your hiring process, and always test the invite link from a candidate’s perspective before sending it out.
Need Further Assistance?
If you have any questions or run into issues while setting up schedule invites, feel free to reach out to our support team: support@testlify.com