📅 How to Book a Demo Call After Signing Up
When you first sign up and enter your Testlify workspace, you’ll now see a demo call booking page. This feature allows you to instantly connect with our team and schedule a personalized walkthrough of the platform.
Why book a demo?
A demo session helps you:
- Get a personalized tour of the platform tailored to your needs.
- Learn best practices for creating and managing assessments.
- Quickly resolve any questions or doubts with our product advisor.
- Save time by setting up everything right the first time.
Steps to Book a Demo Call
Meeting Booking Page Display
- Right after signing up and entering your workspace, the meeting booking page will appear.
-
You’ll see a calendar interface (powered by HubSpot) where you can choose your preferred time slot.
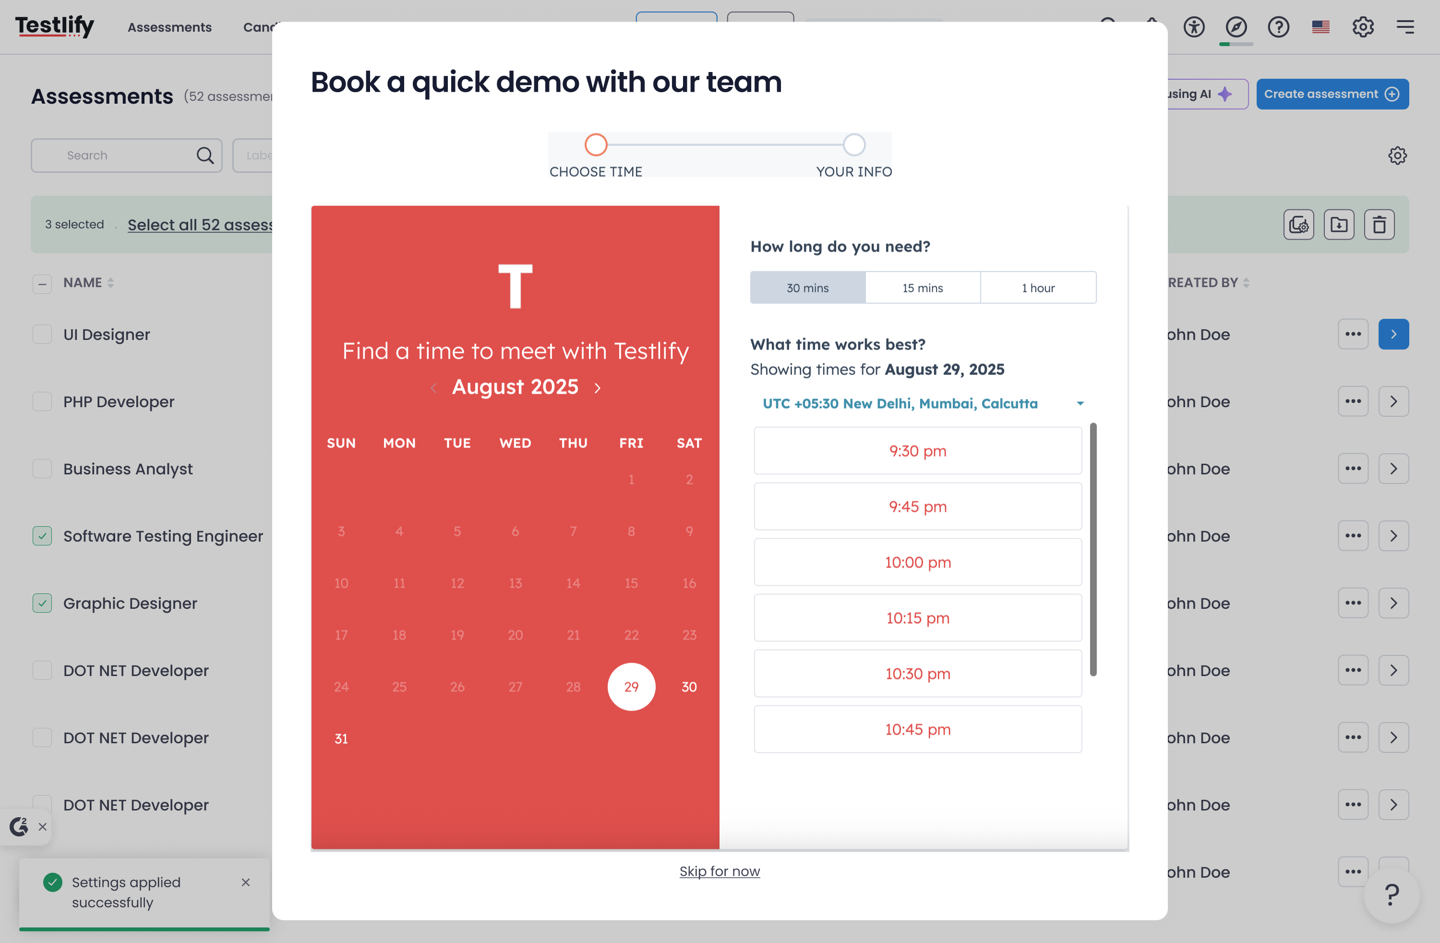

Select Time Zone, Date, and Time
- First, select your time zone from the dropdown to ensure the available slots match your local time.
- Pick a date from the calendar.
- Choose a time slot that works best for you.
Fill Out Your Details
- After selecting the time, you’ll be asked to complete a short form.
- Enter your name, email, and other required details.
- Click OK to confirm your booking.

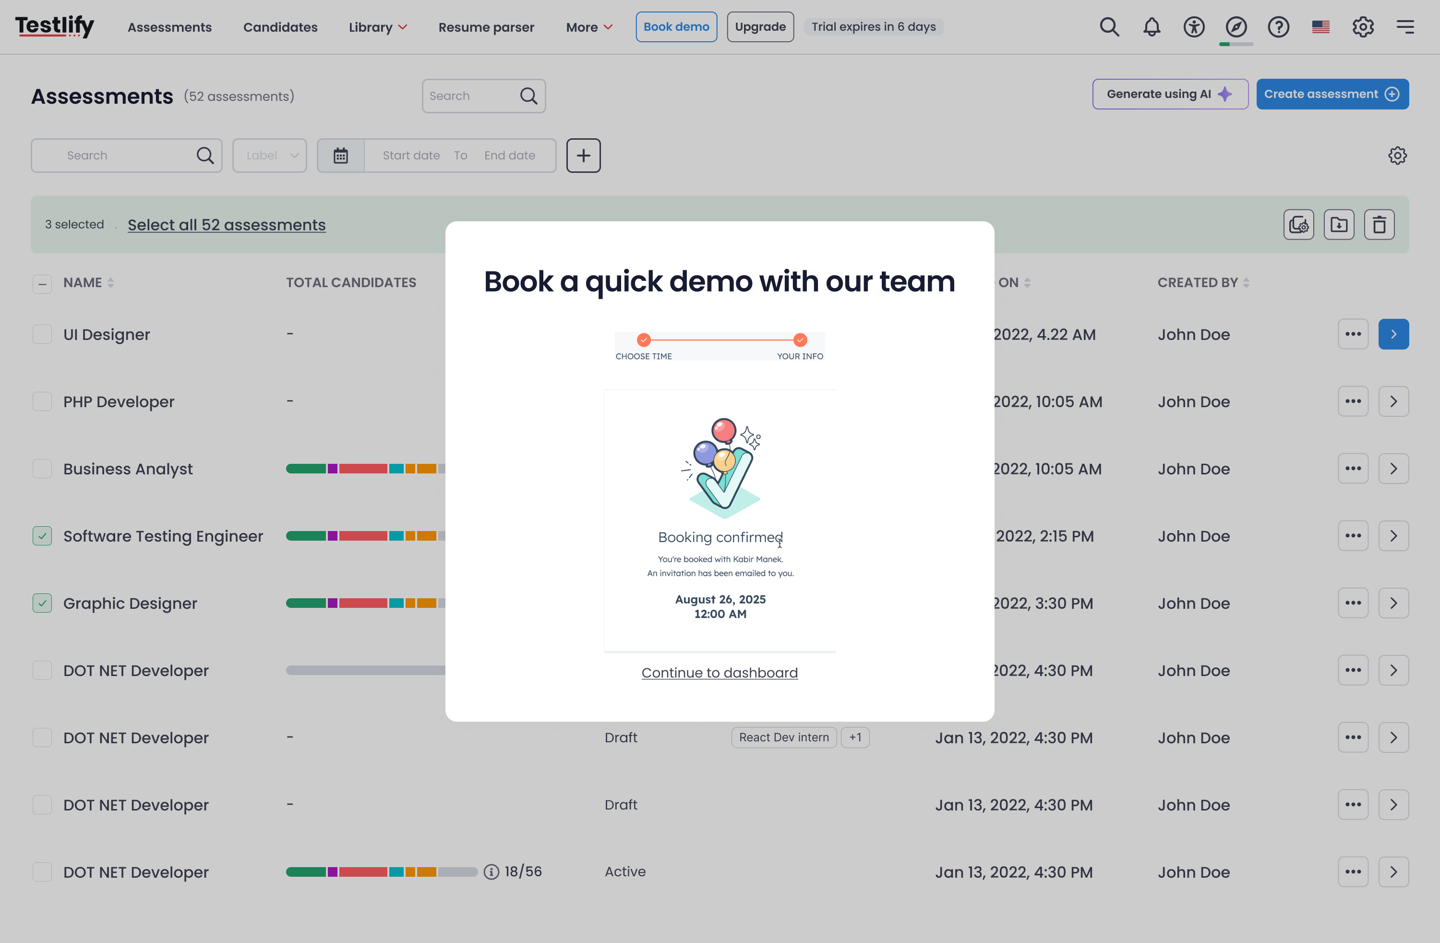
Booking Confirmation
- Once booked, you’ll see a confirmation pop-up on the screen.
- You’ll also receive a confirmation email with meeting details.
Manage Your Booking
- In your confirmation email, you’ll find options to:
- Reschedule your meeting to a different time.
- Cancel your meeting if you’re unable to attend.

Skipping the Demo Booking
- If you don’t wish to book a demo immediately, you can click the “Skip for now” button at the bottom of the page.
- You can always book a demo later if needed.

✅ That’s it! You’re all set to schedule and manage your demo call with ease, or skip and revisit later when convenient.