How to Change Workspace Navigation Language on Testlify
Testlify allows users to customize their workspace navigation language to better suit their preferences or team needs. You can easily switch between a variety of supported languages directly from your workspace settings.
Below is a step-by-step guide to help you update the navigation language.
🔄 Step-by-Step Guide
-
Login to Your Workspace
- Visit app.testlify.com
-
Use your registered email ID and OTP to access your workspace dashboard..
-
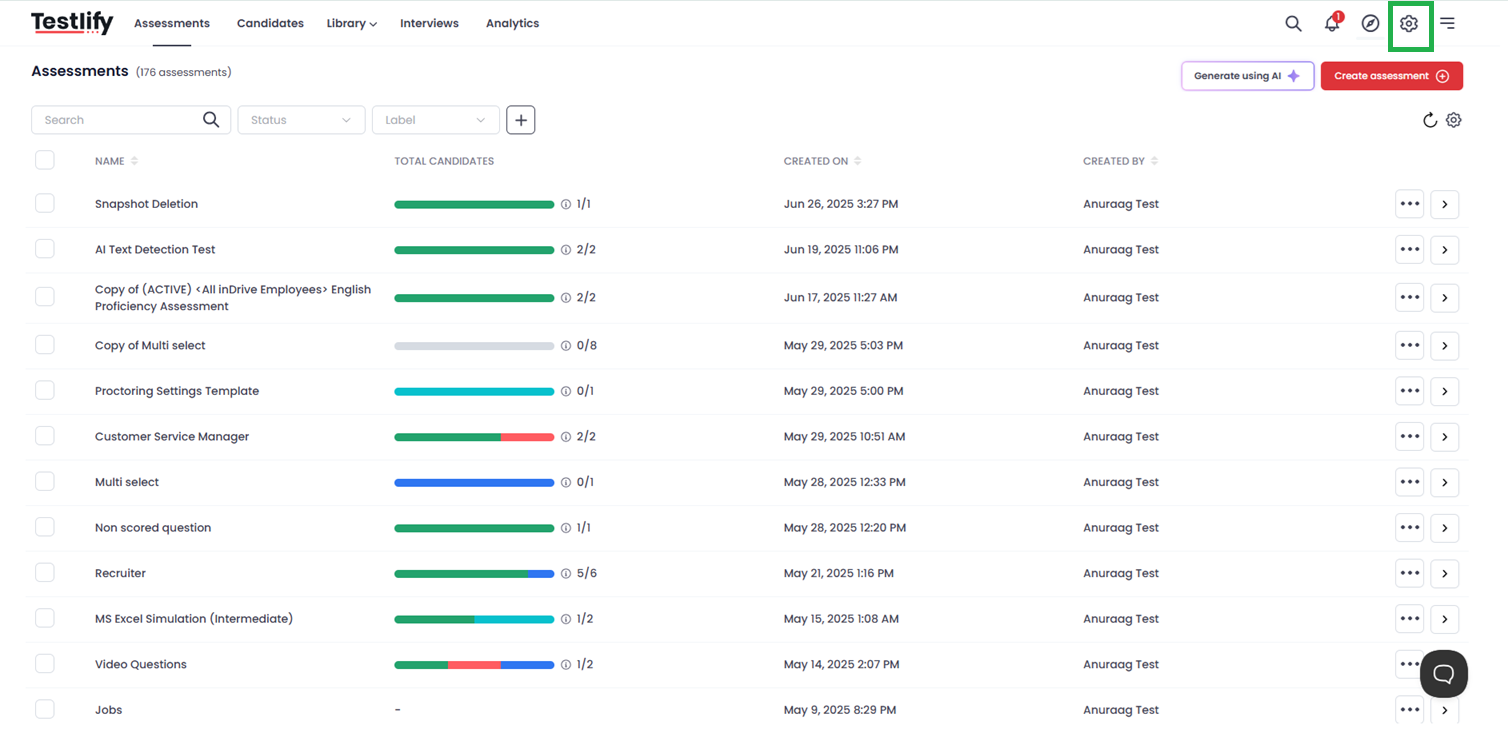
Access Settings
- Once logged in, look to the top-right corner of your screen.
-
Click on the Settings icon (⚙️) located next to your profile picture.

-
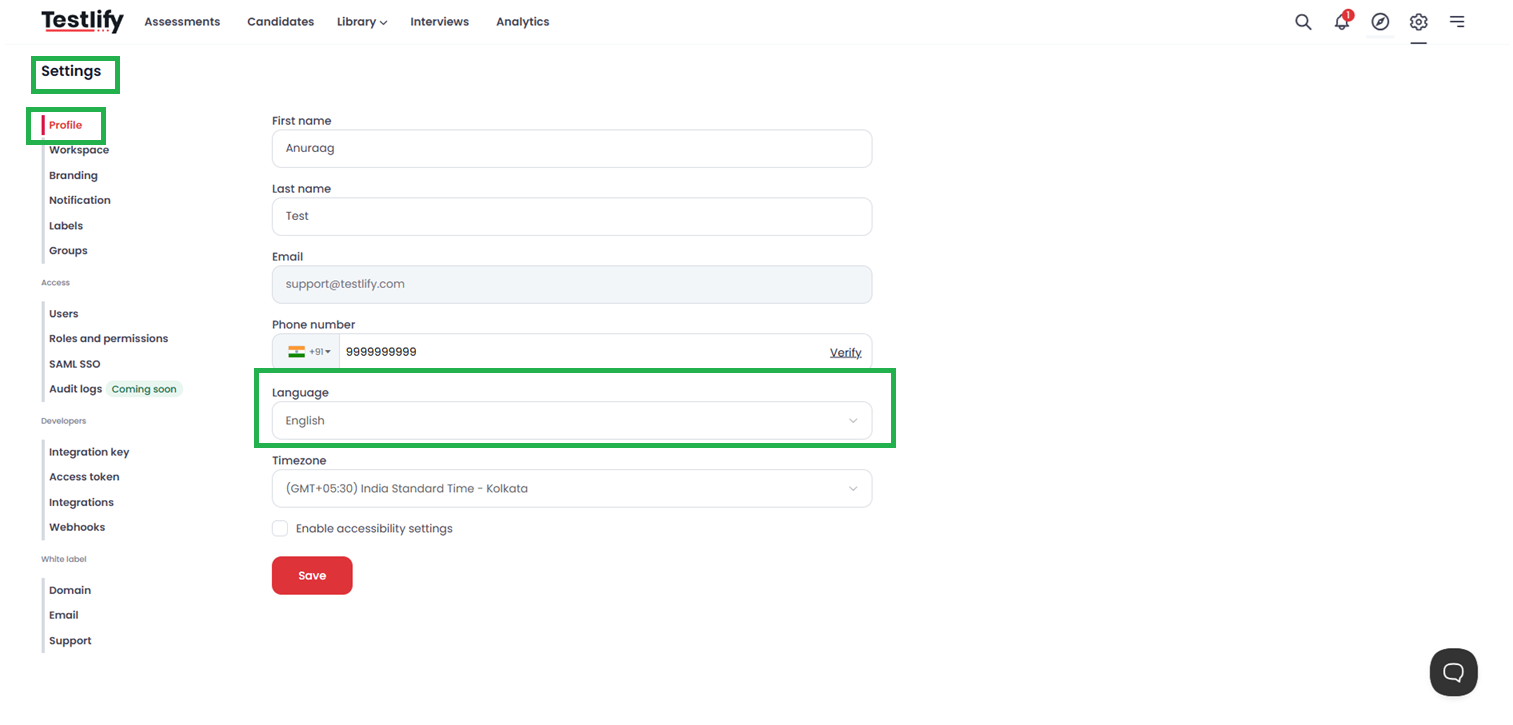
Navigate to Language Settings
- In the left sidebar under the Profile section, click on Language.
-
A dropdown menu will appear with a list of available languages.

-
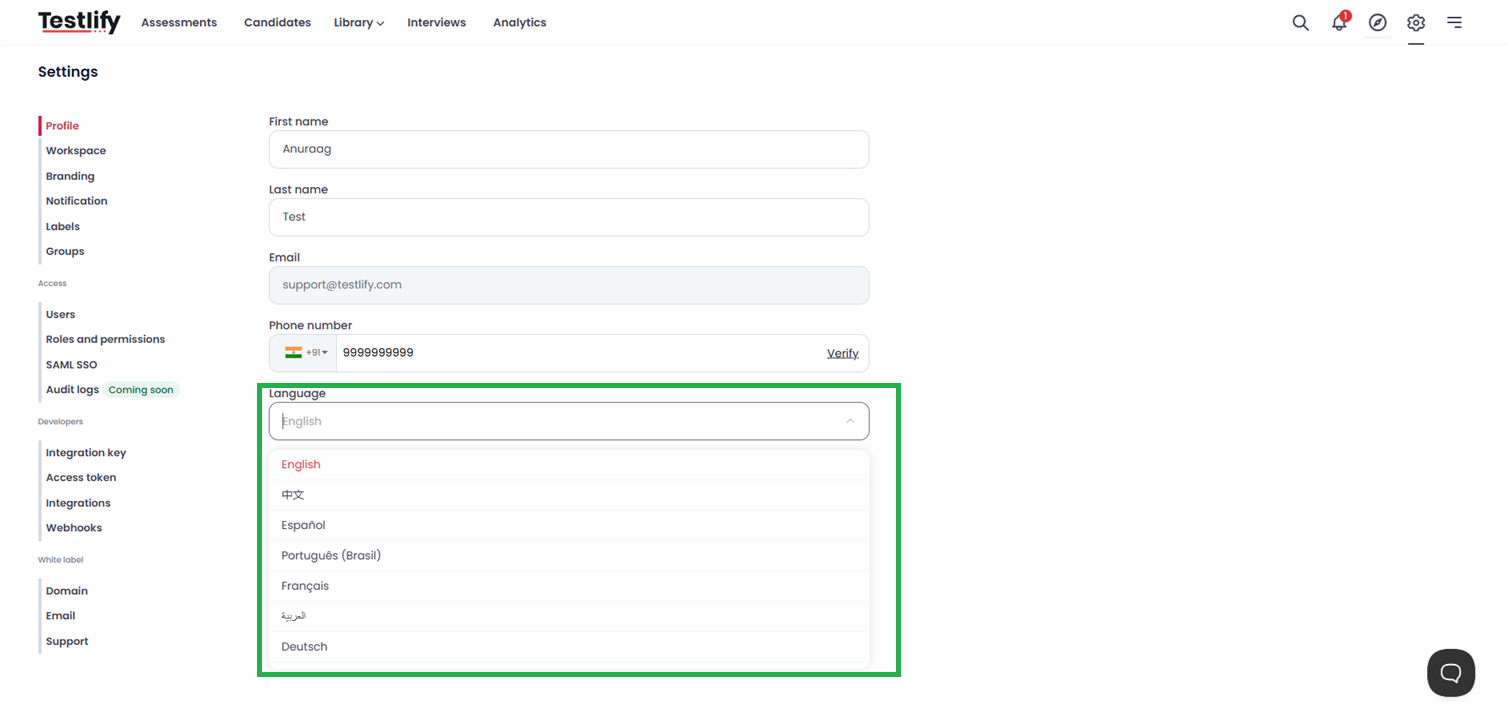
Select Your Preferred Language
- Choose from the following supported languages:
- English
- Chinese
- Spanish
- Portuguese (Brazil)
- French
- Arabic
- German
- Japanese
- Portuguese (Portugal)
- Italian
- Dutch
- Greek
-
Once selected and saved, the navigation UI will automatically update to your chosen language.

✅ Conclusion
Changing your workspace navigation language on Testlify is quick and user-friendly. This feature is especially helpful for global teams or non-English speakers who prefer working in their native language.
If you encounter any issues or need additional support, feel free to reach out to us at 📧 support@testlify.com — we’re here to help!