How to Add Google Docs Questions to Your Assessment
The Google Docs question type lets you assess how candidates work with documents in a realistic, hands-on environment directly inside Testlify. Each candidate works in their own isolated copy of your source document — keeping responses private and simple to review.
What this question evaluates
Google Docs questions measure a candidate's ability to:
- Write and format documents clearly and professionally
- Use collaborative features such as comments and tracked suggestions
- Apply headings, templates, and styles consistently
- Work efficiently with Google Docs productivity tools
Before you begin
Prepare the Google Docs document you want to use as the question prompt. Testlify automatically clones it for each candidate when the assessment starts.
Tip: Keep your source document free of previous edits so every candidate starts from a clean, consistent baseline.
How to add a Google Docs question
-
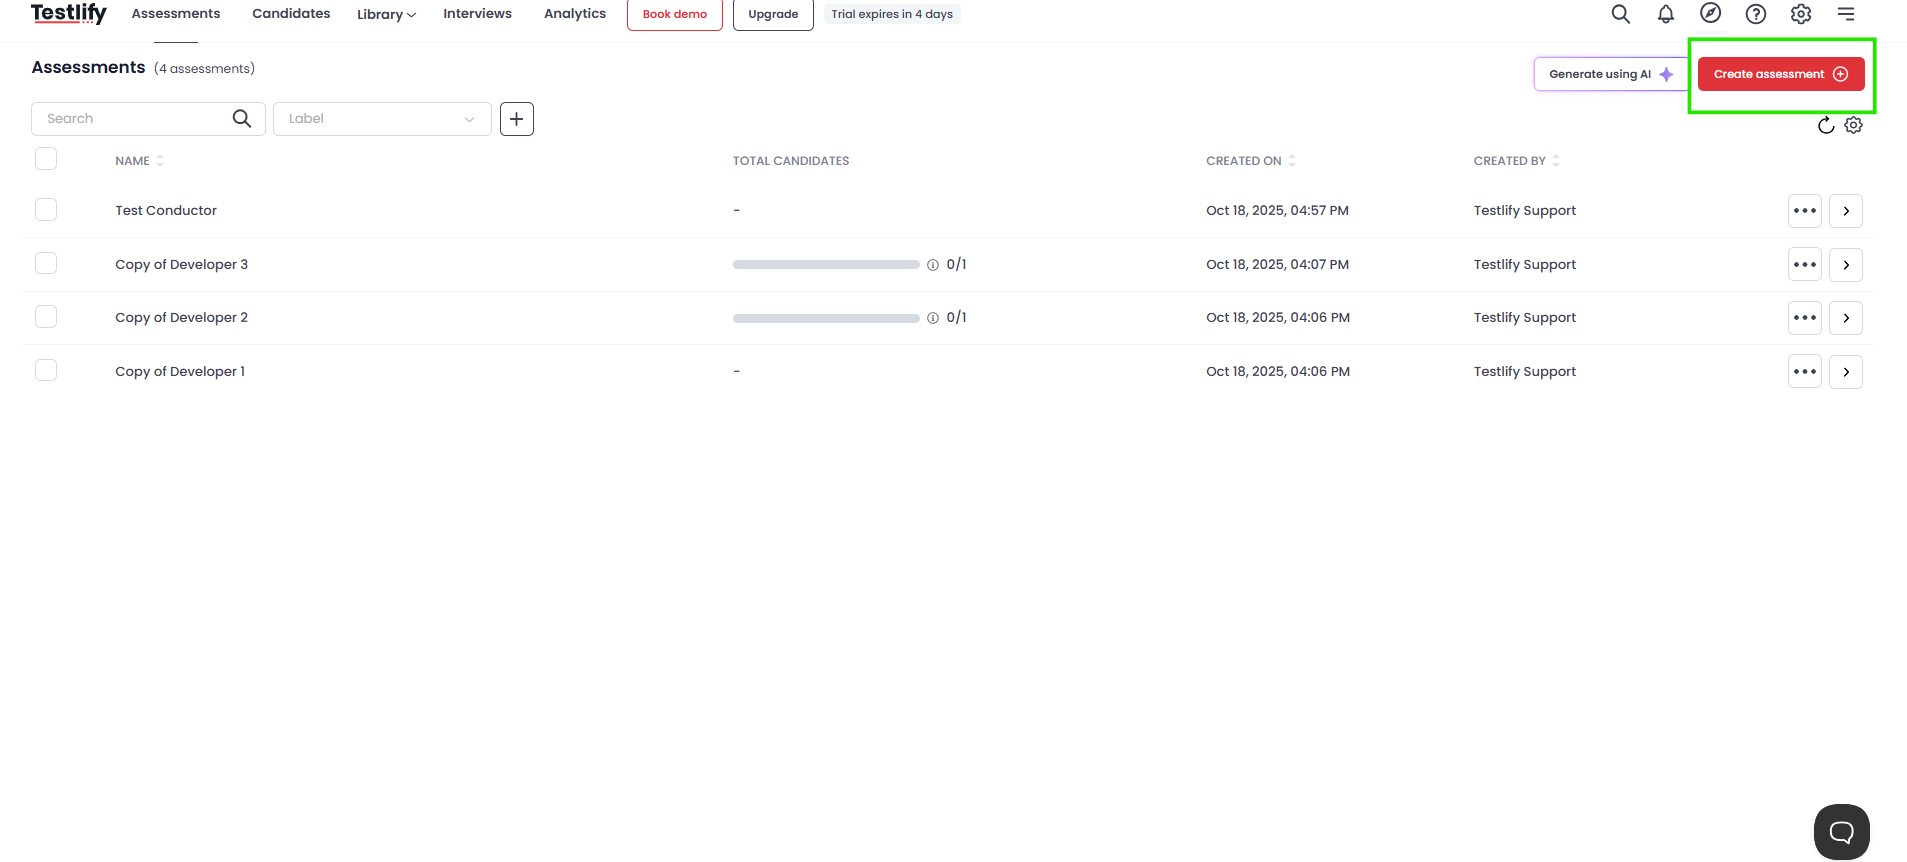
Create a new assessment. Click Create Assessment, enter a name, and proceed to the next step.
-
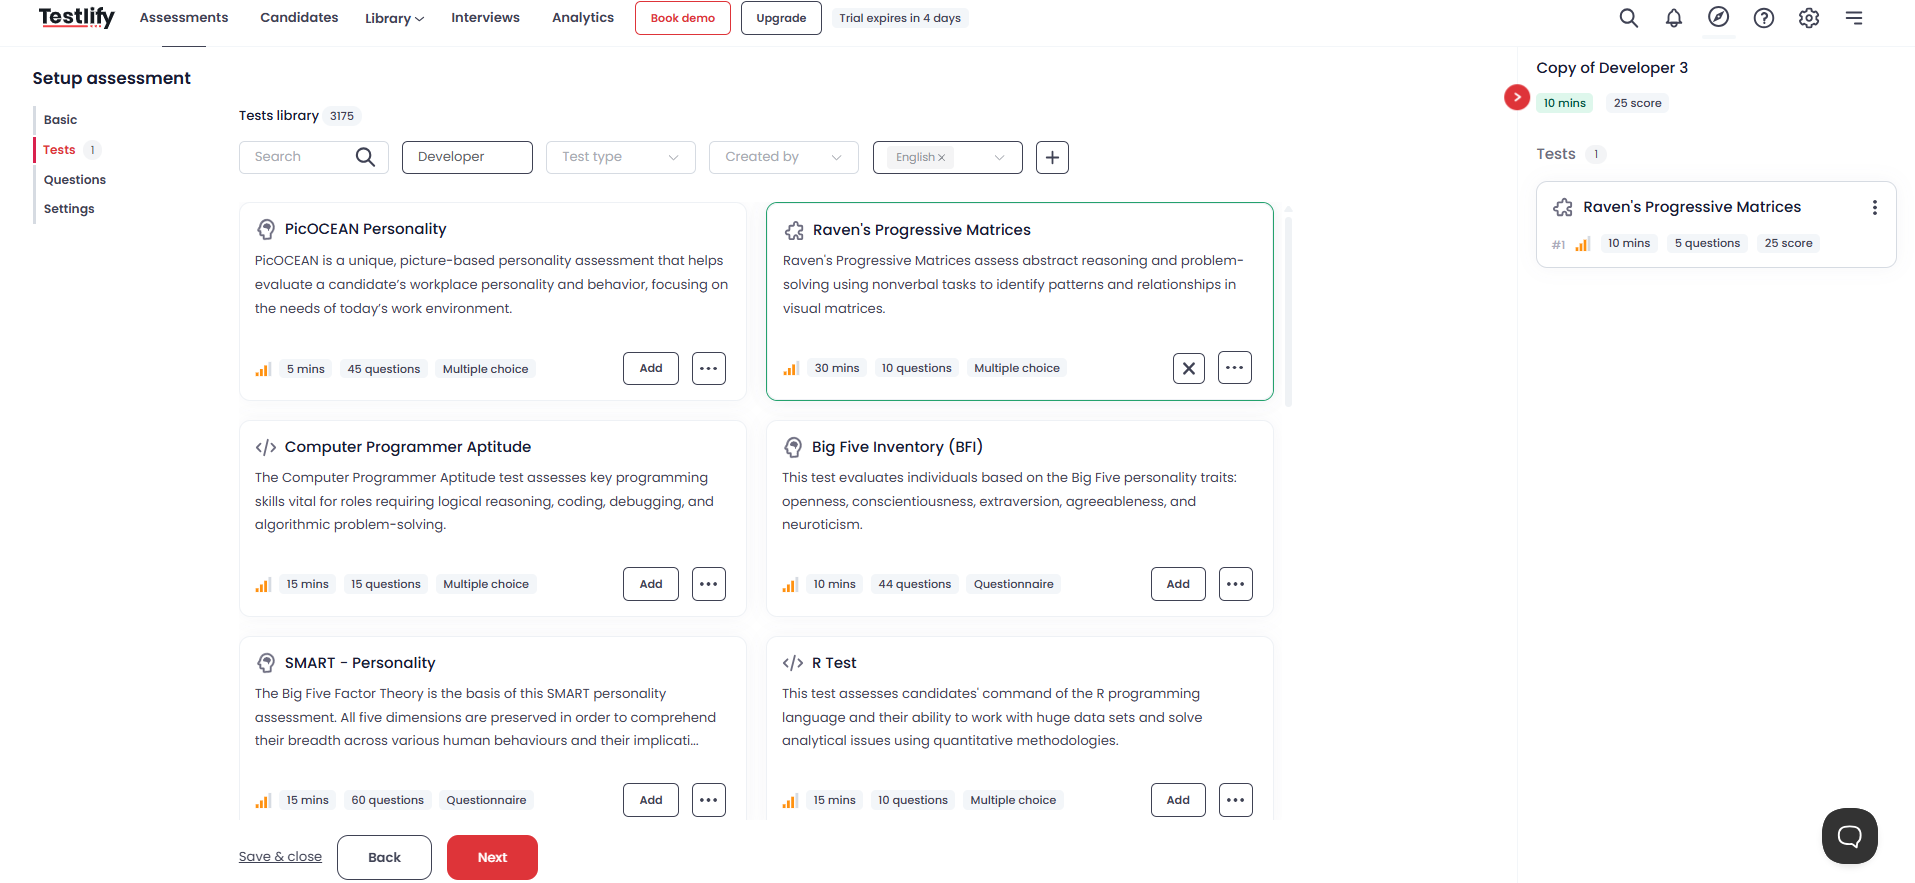
Add tests. Open the Tests tab and use the filters to select relevant tests.
-
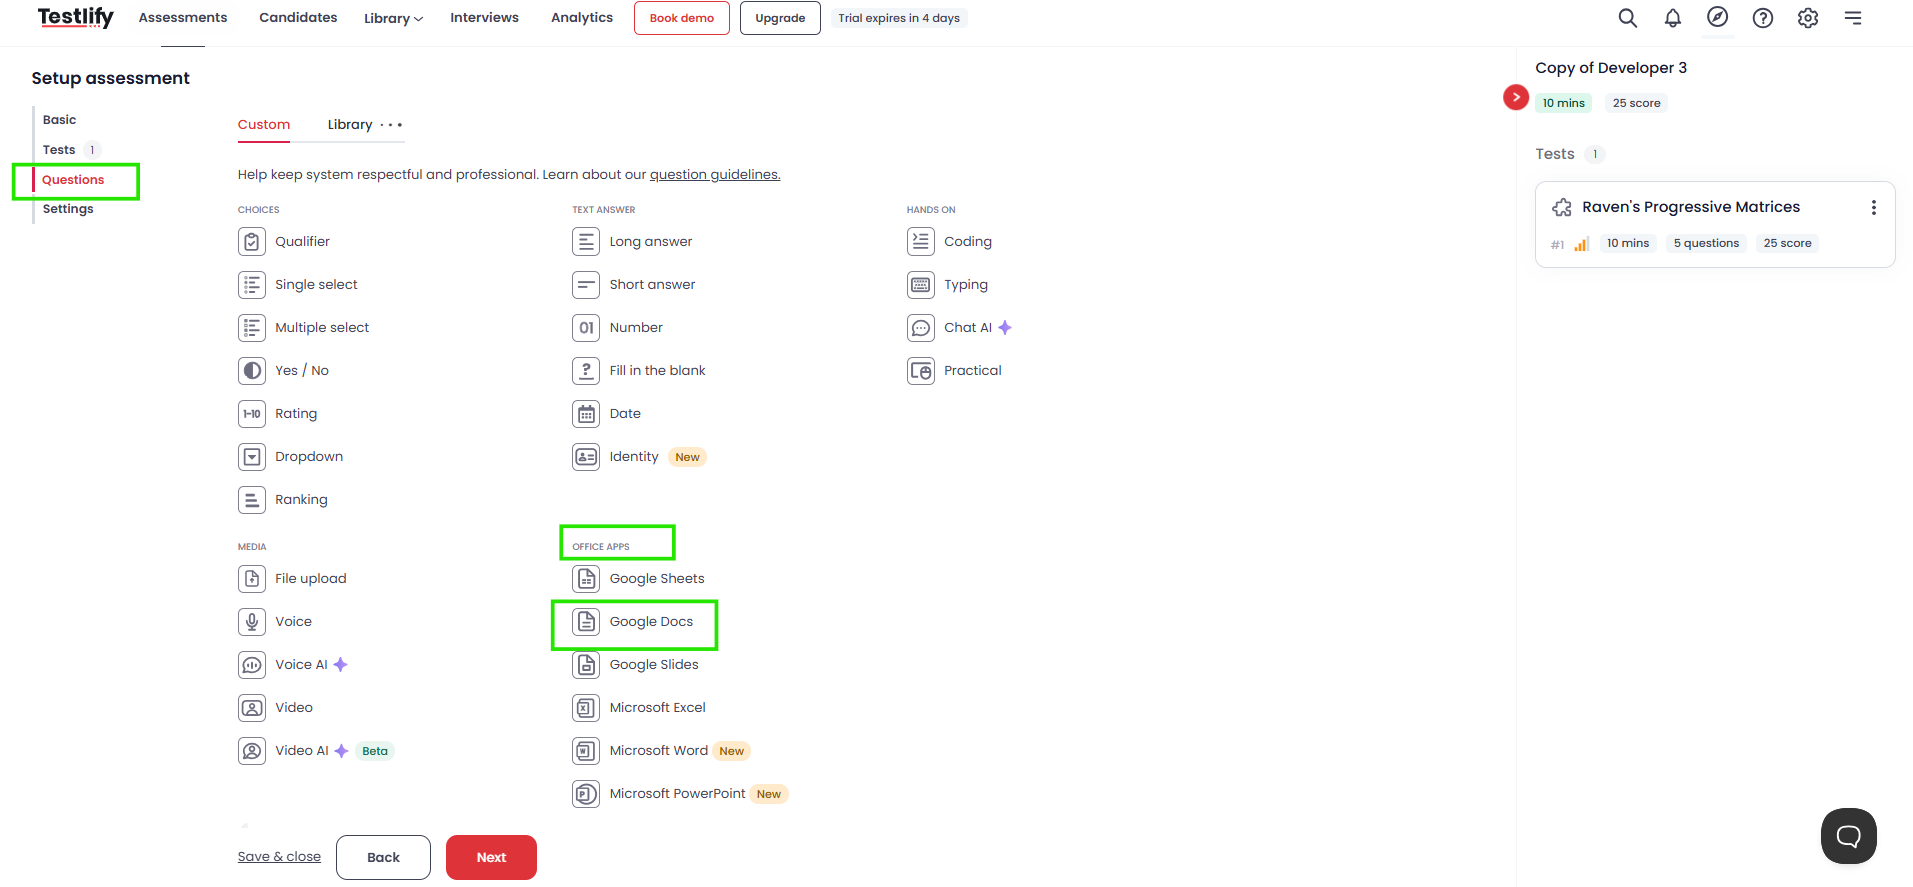
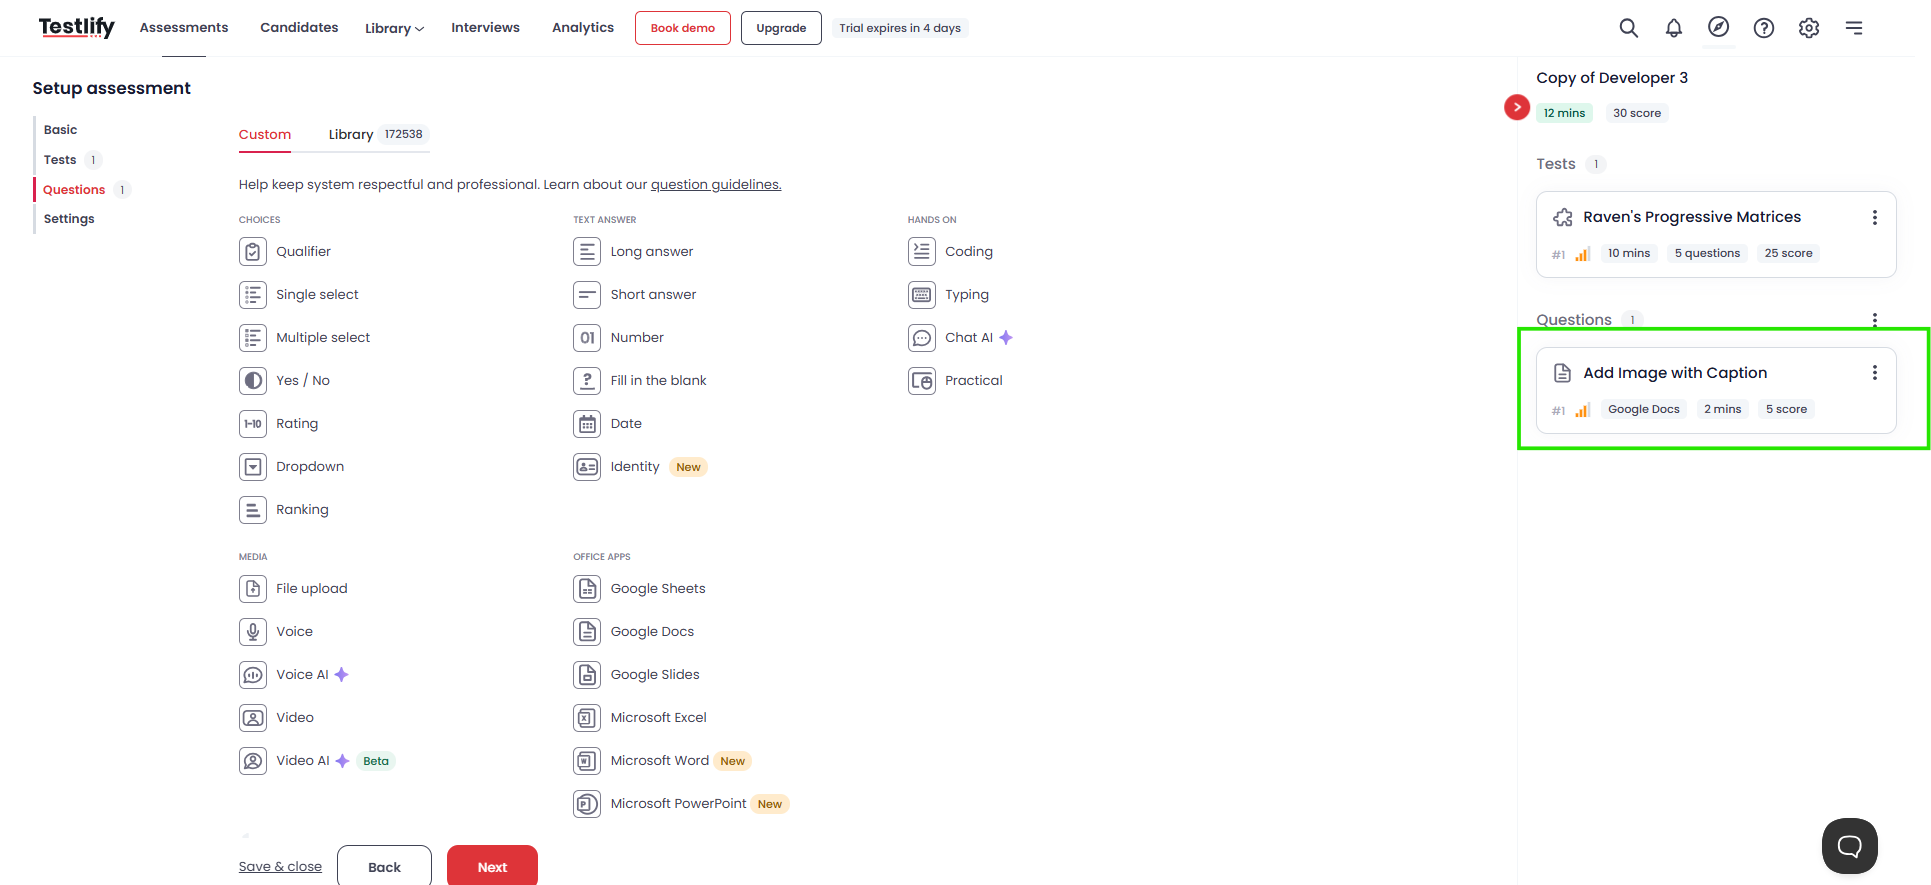
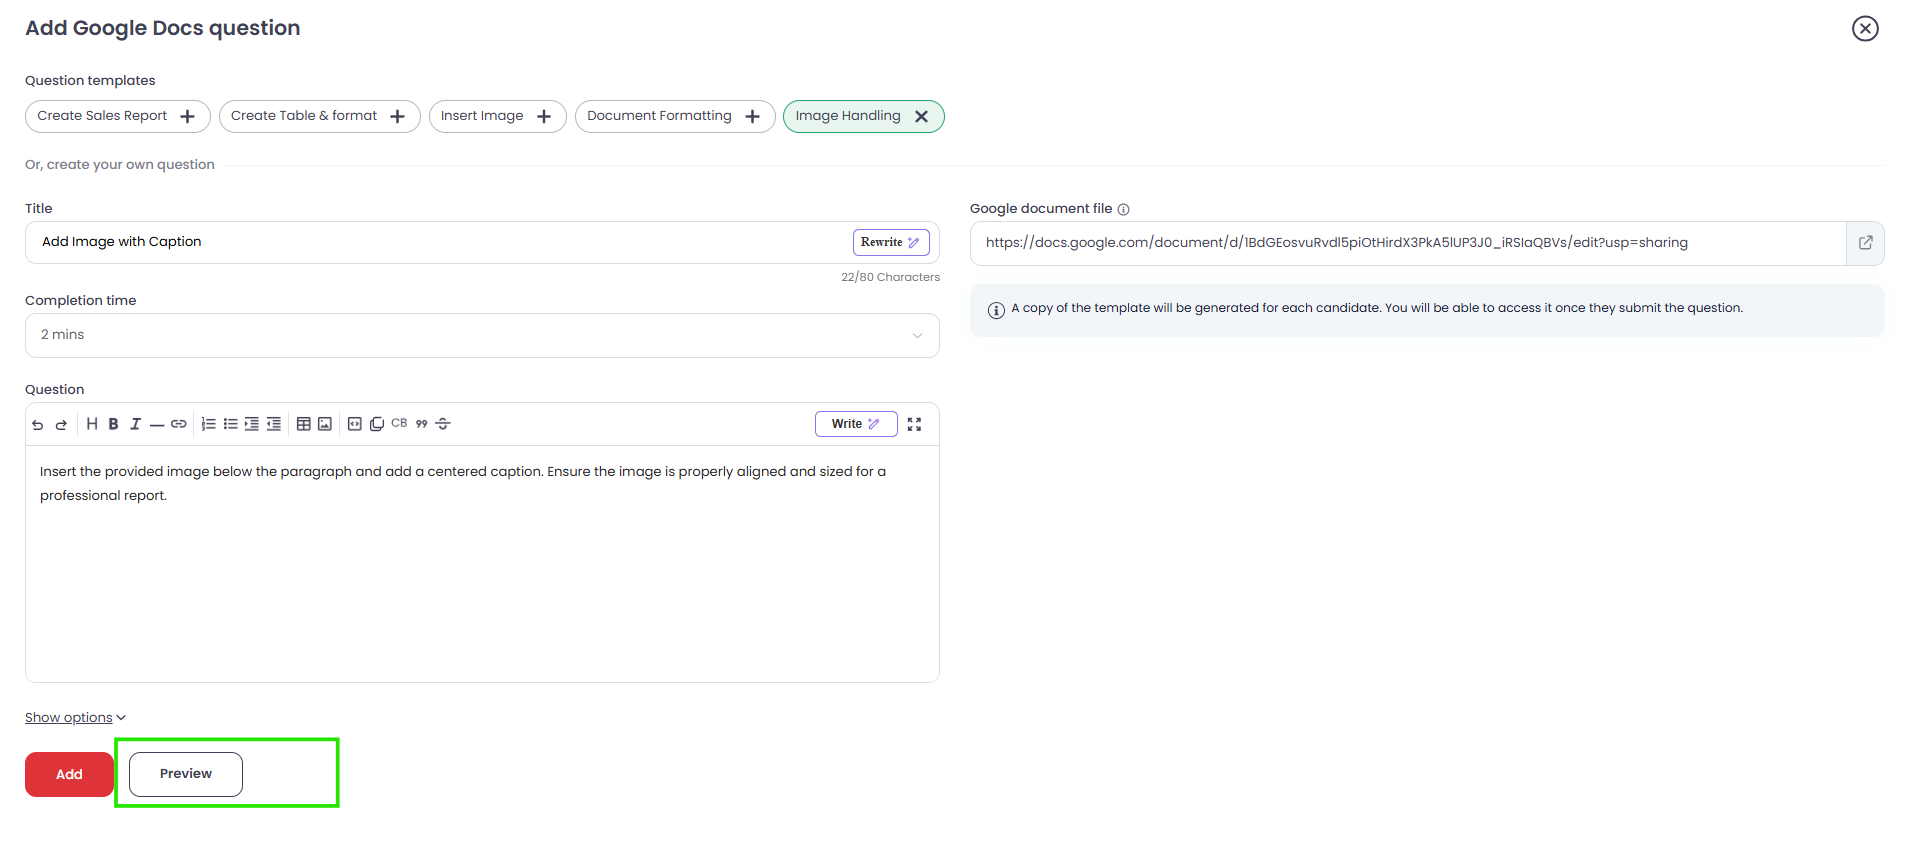
Add the Google Docs question. Go to the Questions tab, click Custom, then select Google Docs under Office Apps. Fill in the question details and click Add.
-
Preview the question. Click Preview to confirm how the question appears to candidates before publishing.
-
Configure settings and publish. In the Settings tab, set the time limit and any proctoring options, then click Next and Save to publish your assessment.


How candidates experience the question
When a candidate reaches this question, Testlify creates a personal copy of your source document. Candidates work in complete isolation — their responses save automatically and appear in their performance report.
Review candidate responses
Open a candidate's profile from the workspace dashboard and click View Google Docs to review their work. The downloadable PDF report includes a direct link to each candidate's document.
Need help? Contact support.