How to View and Edit Test Grading in Testlify
Testlify's built-in grading system uses industry-standard categories to score candidates automatically. You can view and customize these grade categories directly from any assessment's settings to match your hiring criteria.
Before you begin
You need Admin or Editor access to the assessment you want to modify.
Step 1: Open the assessment
- Go to the Assessments section in your Testlify dashboard.
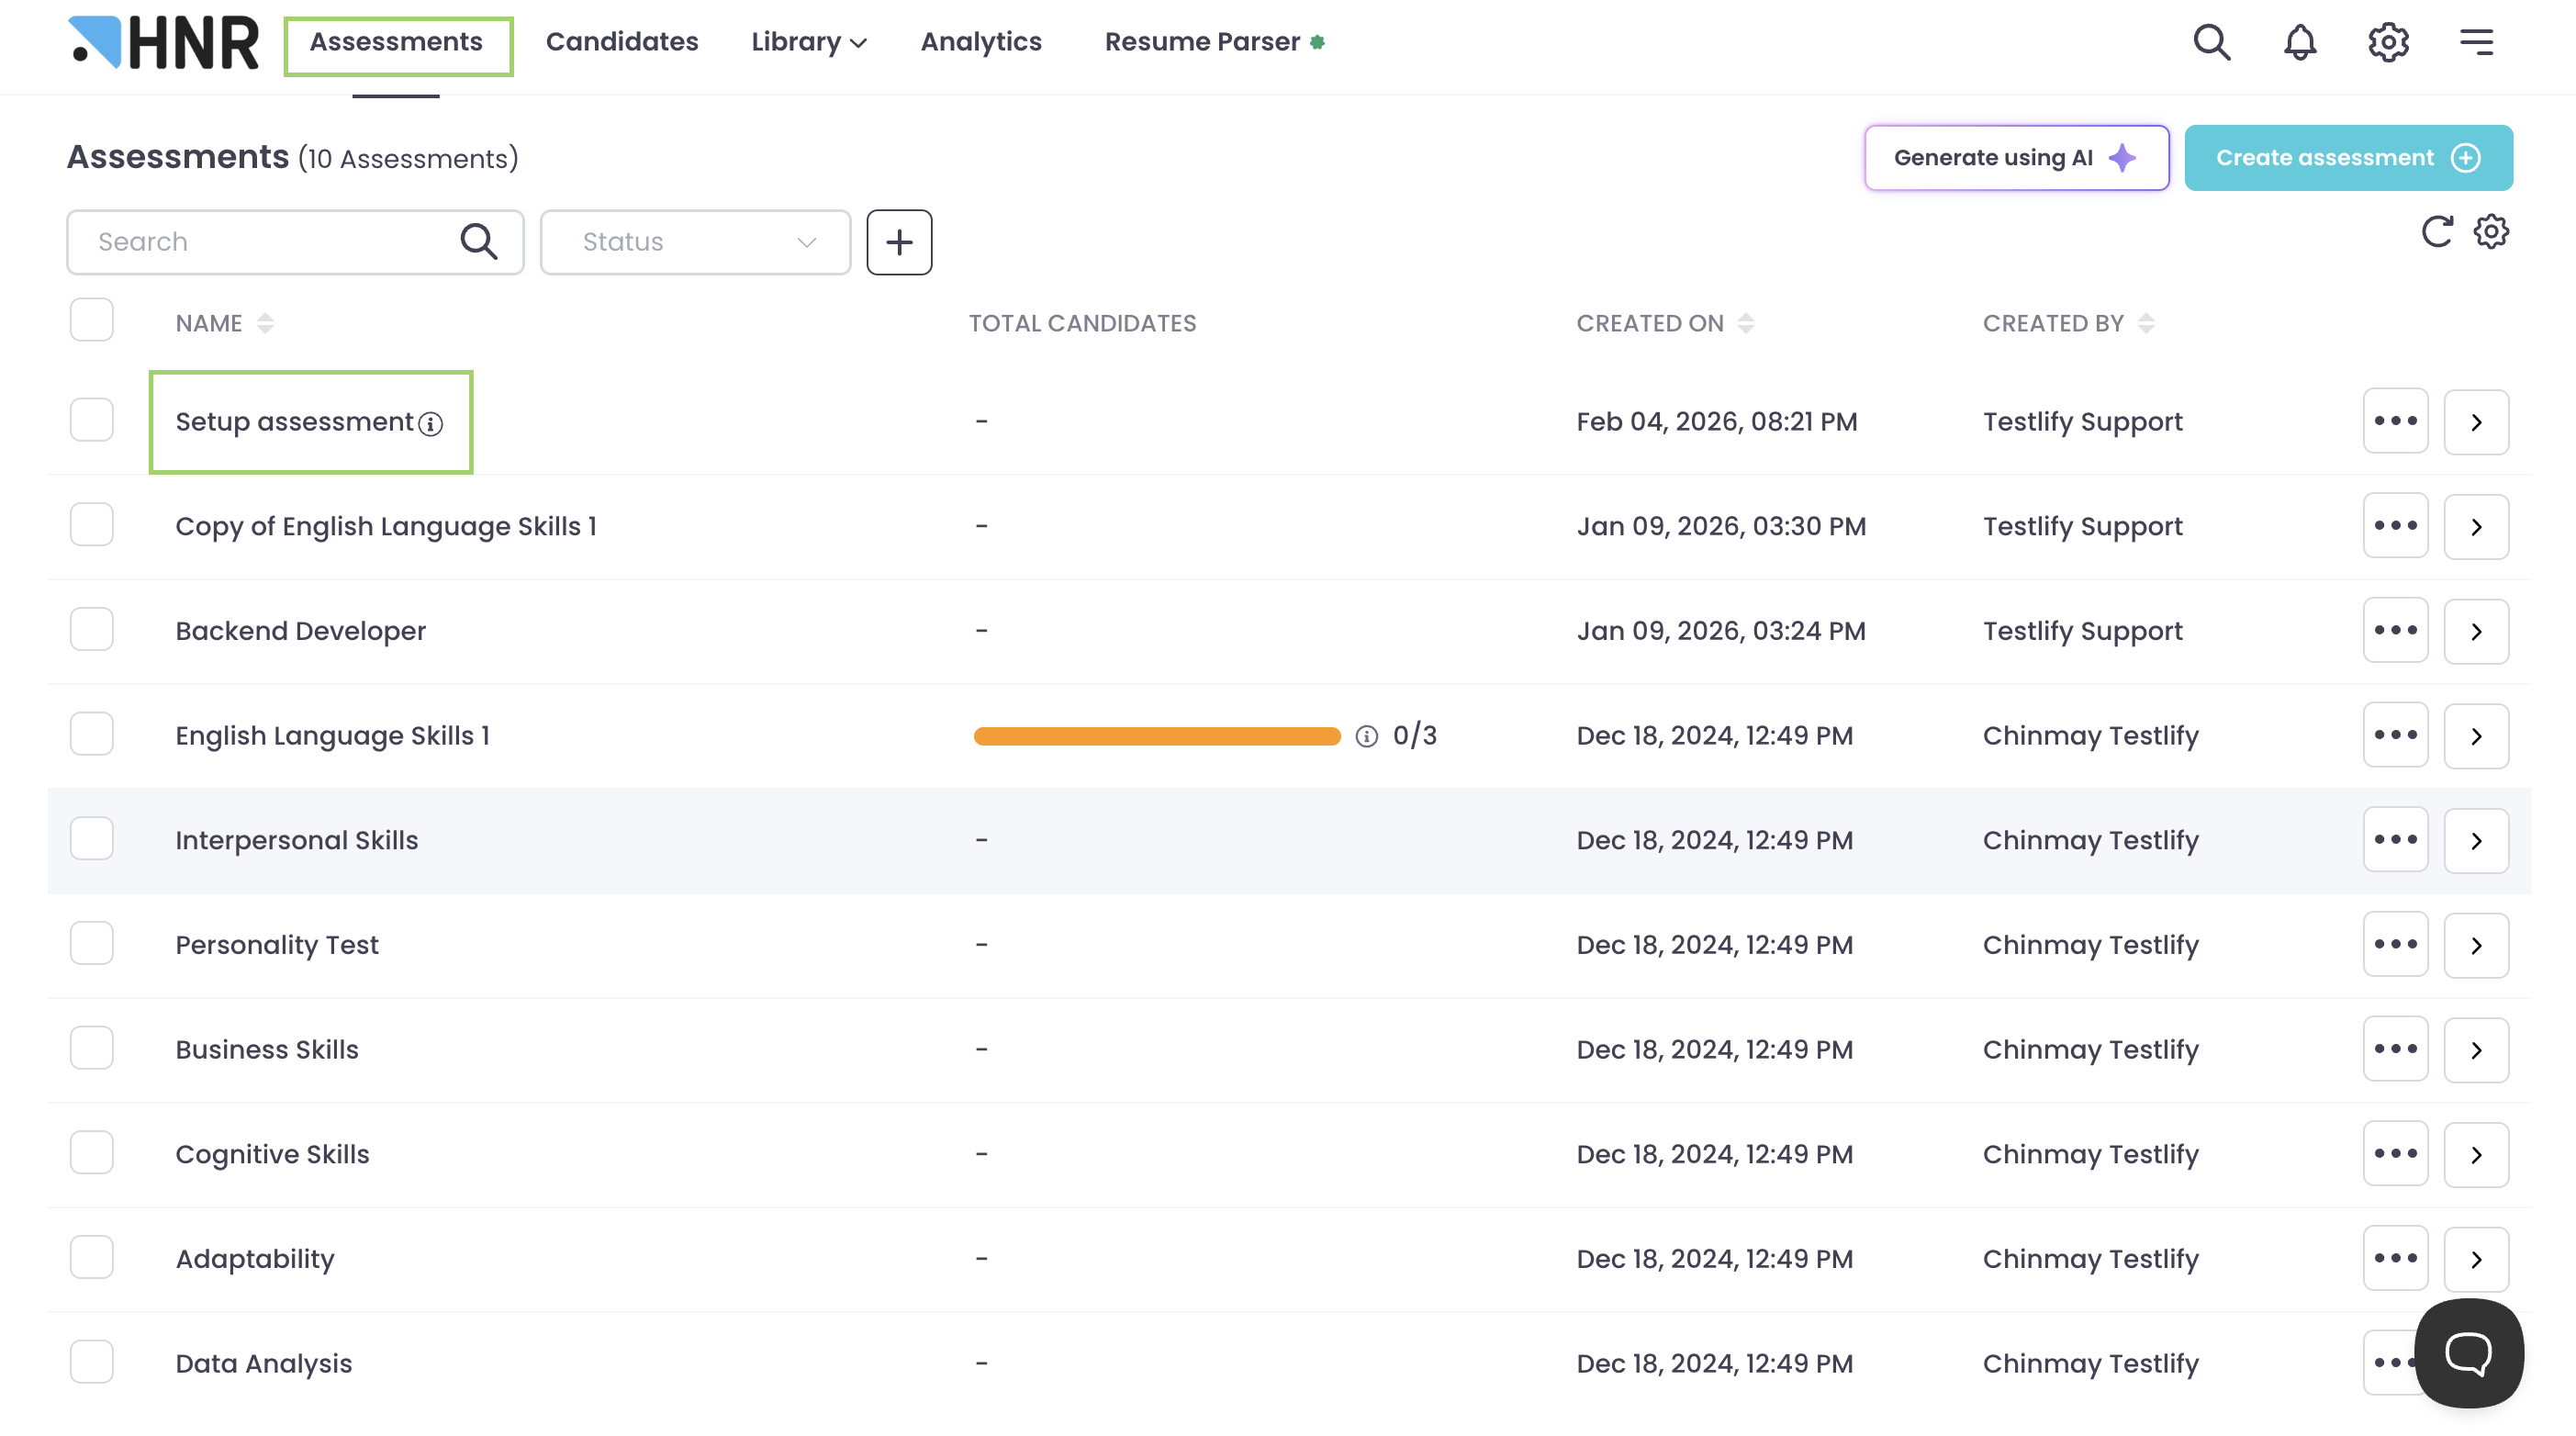
- Select the assessment you want to modify, then click Edit.


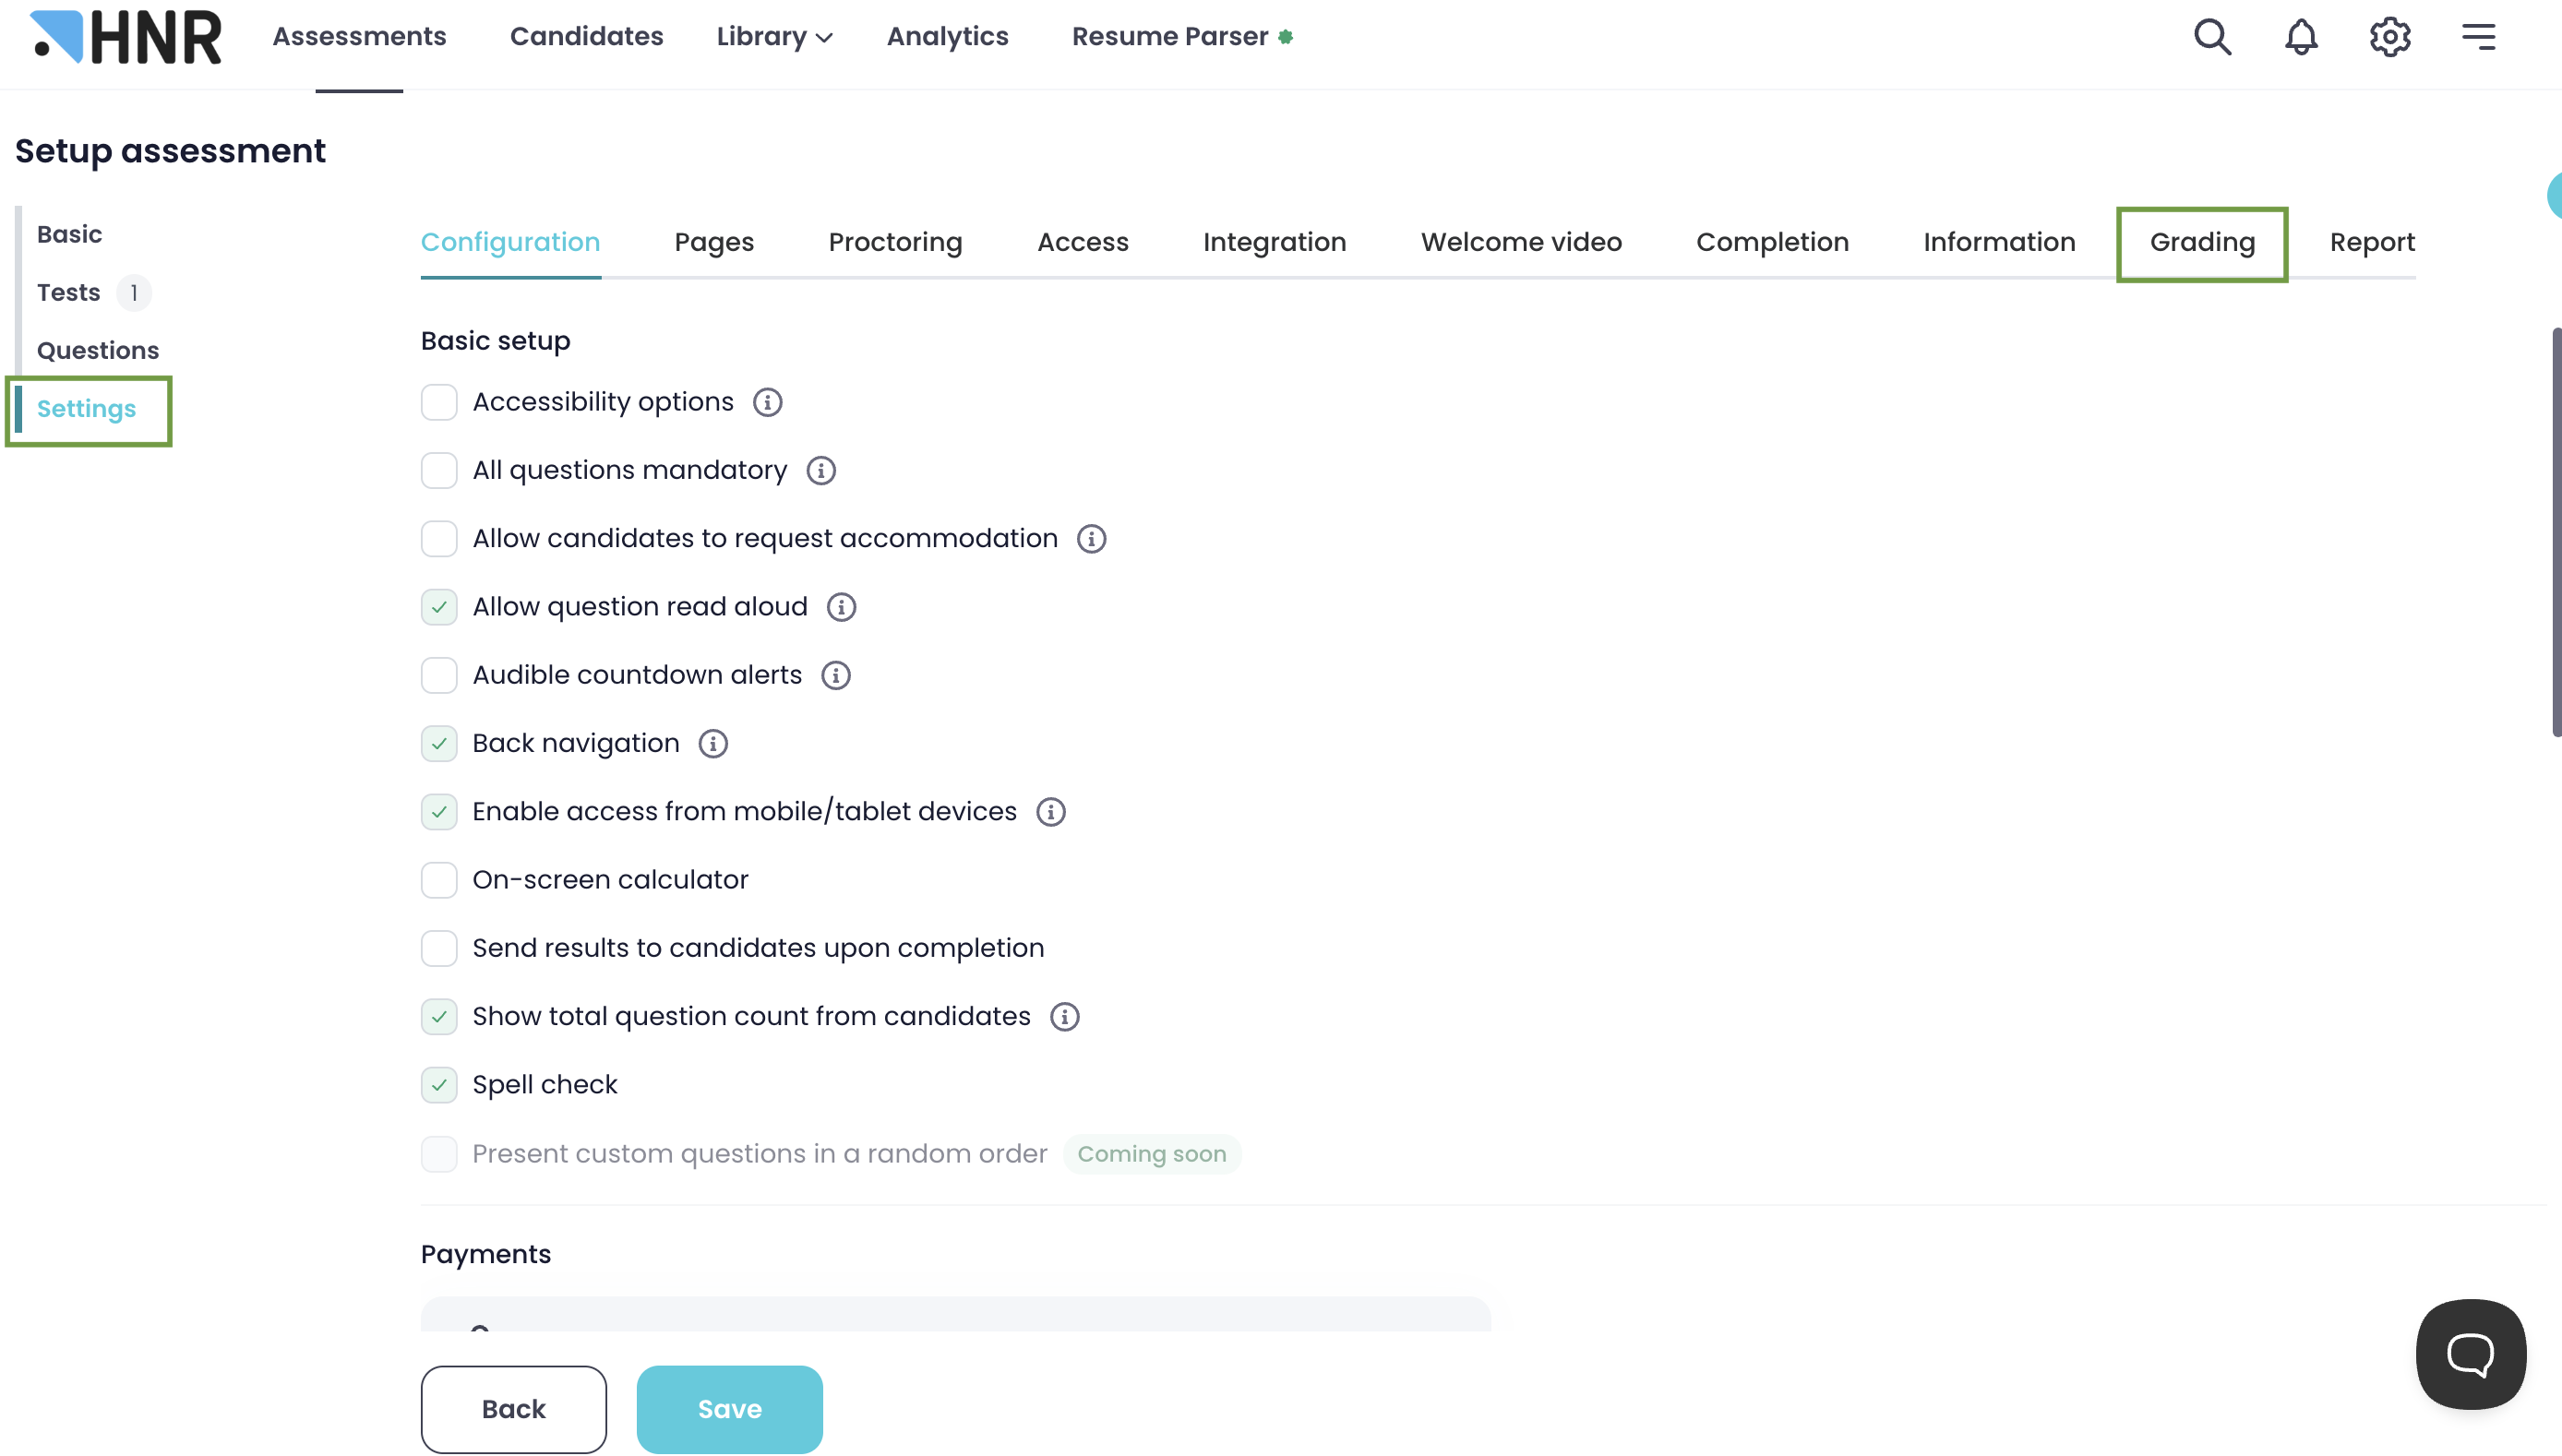
Step 2: Access the grading settings
- Inside the assessment editor, click the Settings tab.
- Select the Grading tab. Testlify's default grade categories appear: Not Suitable, Beginner, Intermediate, Experienced, Expert, and Proficient.

Step 3: Edit a grade
- Click the three-dot menu next to the grade you want to change.
- Select Edit.
- Set the Minimum and Maximum percentage for that grade.
- Optionally, update the score name shown to candidates and choose a color to represent the grade visually.


Where grades appear
- Assessment Detail Page (ADP): Grades display alongside each candidate's result.

- Grading filter: Use the Grading filter on the ADP to narrow your candidate list by a specific grade.


- Candidate report: Grades also appear in each candidate's individual report.

Tip: Rename grade labels — for example, change "Expert" to "Senior-Ready" — to match your team's internal language, making reports immediately actionable for hiring managers.
Need help? Contact support.