How to Integrate Lever with Testlify
Before you begin
- You need admin access to both your Testlify workspace and your Lever account.
- At least one assessment must exist in Testlify to map to a Lever job posting.
Step 1: Connect Testlify to Lever
- In your Testlify dashboard, click your profile icon, then click Settings.
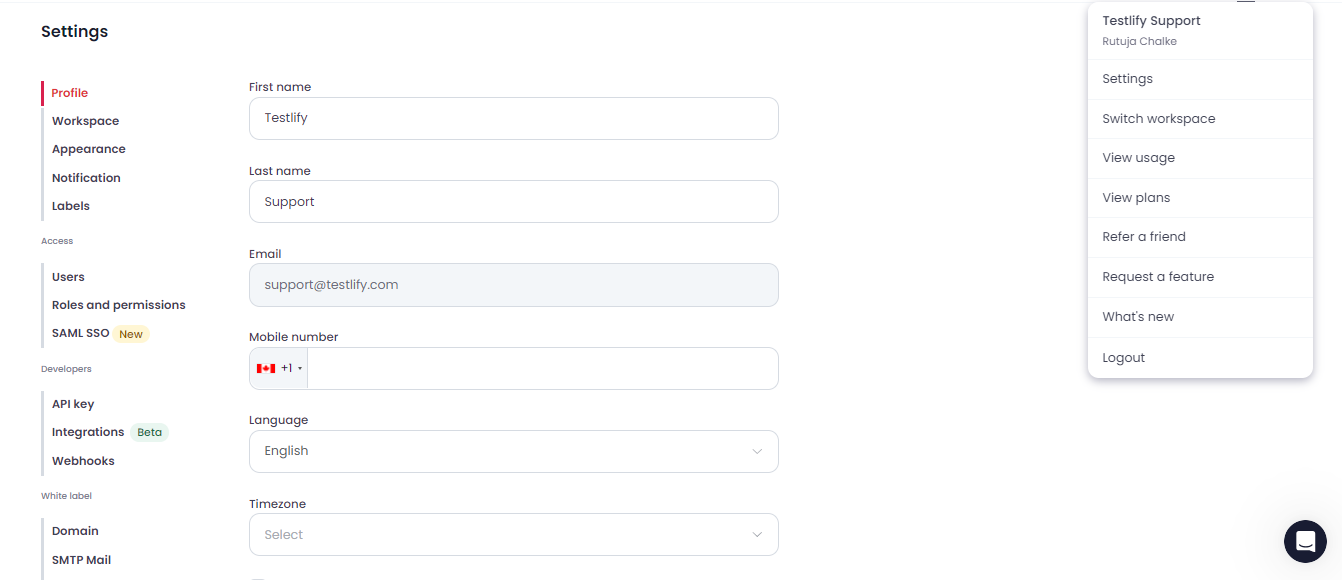
- Click the Integration tab, then click Lever to start the authorization flow.

- Review the requested permissions and click Accept to complete authorization.


Step 2: Enable the Lever webhook
After authorization, Testlify automatically creates a Candidate Stage Change webhook in Lever. You must enable it for the integration to work.
- In Lever, go to Settings > Integrations and API > Webhooks.
- Locate the Candidate Stage Change webhook.
- Toggle it to the on (blue) position.


Step 3: Map assessments to Lever job postings
Testlify uses tags on Lever job postings to determine which assessment to send and at which stage. Apply this exact syntax as a tag on the job posting:
- Testlify:<stage-name>:<assessment-name>
Example: To send the Backend Developer assessment when a candidate reaches the On-site Interview stage, add this tag:
- Testlify:On-site Interview:Backend Developer


Rules for tags:
- The first value must always be Testlify — this identifies the tag as a Testlify instruction.
- The stage name must exactly match a valid stage in the job's interview plan in Lever (capitalization and spacing must be identical).
- The assessment name must exactly match an assessment created in your Testlify dashboard and linked to Lever.


Tip: If a candidate moves to the trigger stage but no assessment is sent, verify that the tag on the job posting exactly matches both the stage name and assessment name — including capitalization and spacing.
Step 4: Send an assessment to a candidate
- In Lever, associate the candidate's opportunity with the relevant job posting.
- Move the candidate to the trigger stage defined in the Testlify tag on that posting.


Testlify automatically sends the candidate an email with a link to complete the assessment.

Step 5: Review assessment results
Once the candidate completes the assessment, Testlify automatically adds a note to their Lever application with the result and a link to the full PDF report.


Need help? Contact support.