Jobvite Integration
- Begin by logging into Testlify.
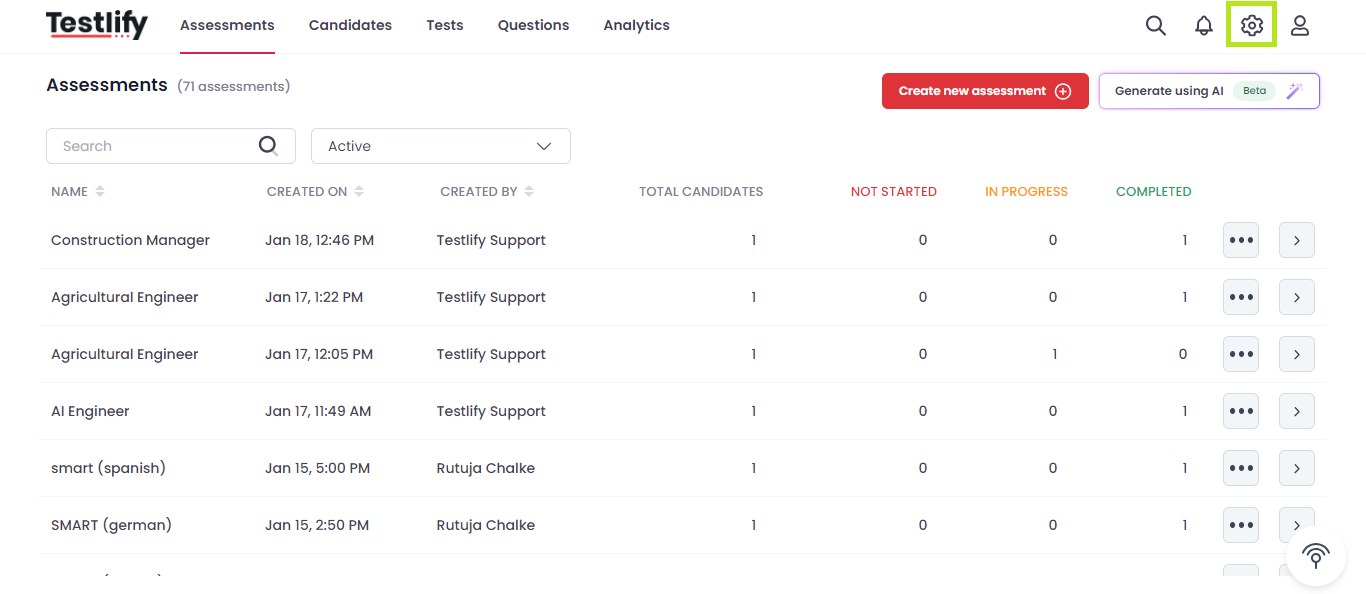
Upon redirection to this page, click on the settings icon.
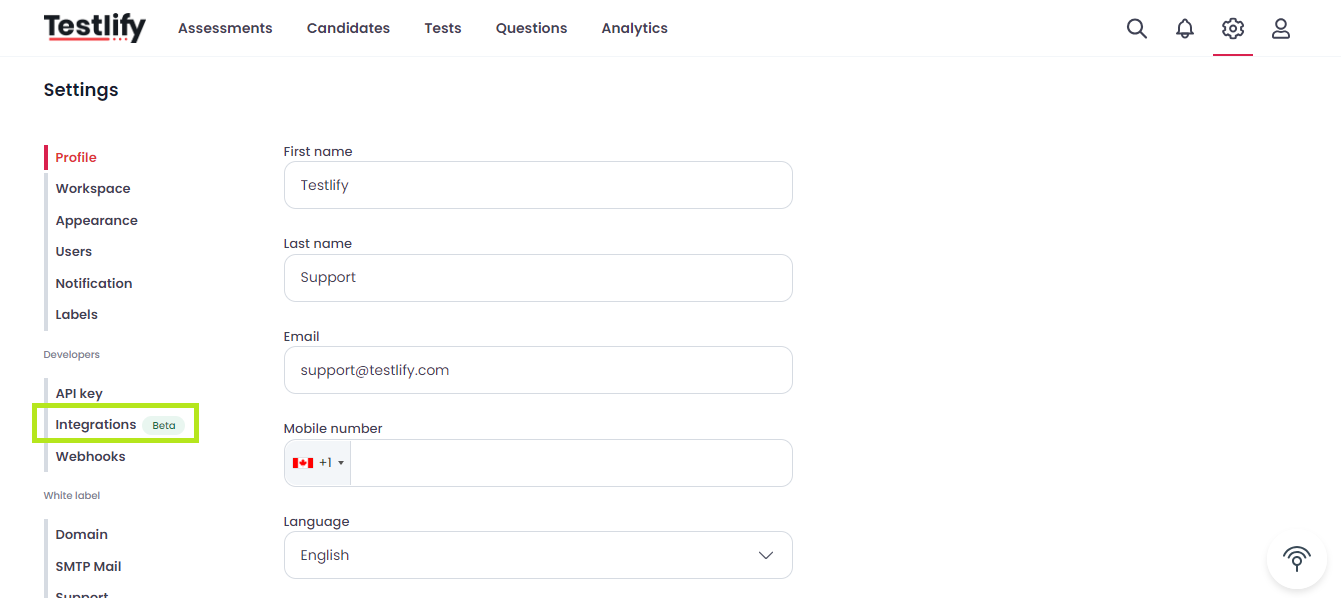
Proceed to the page that appears and select the Integration module.
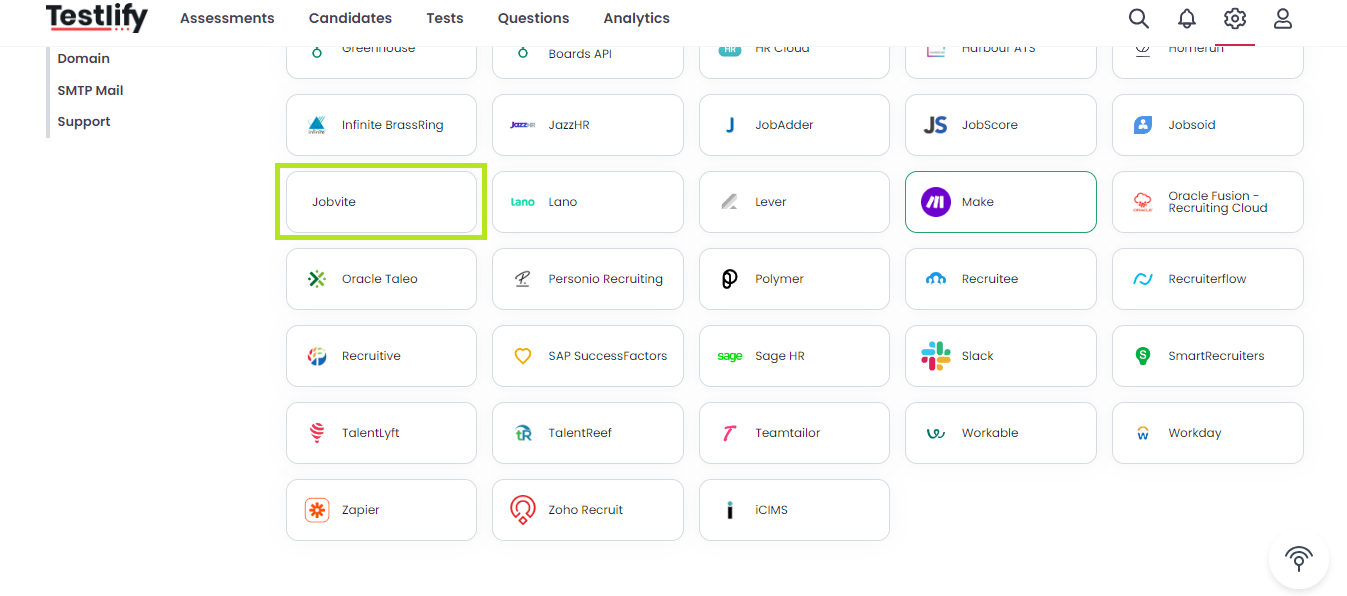
After accessing the Integration module, locate and click on Jobvite from the list of supported integrations.
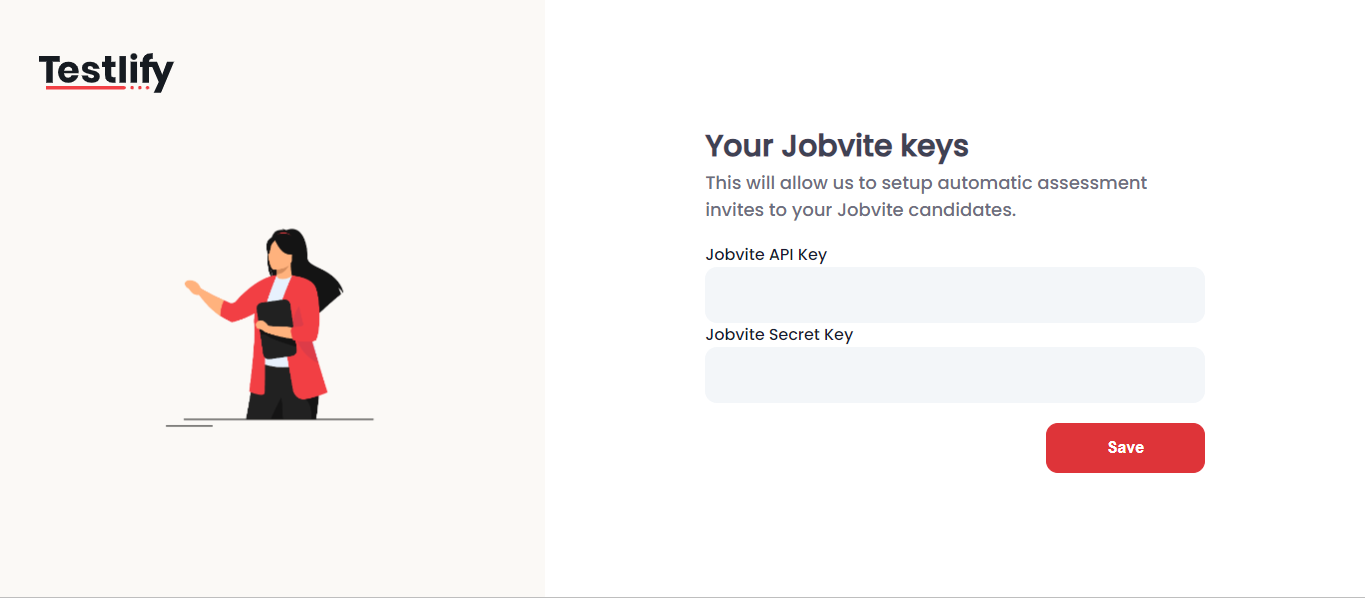
After being redirected to the new page, contact the Jobvite support team via email to obtain the Jobvite API and Secret Key.
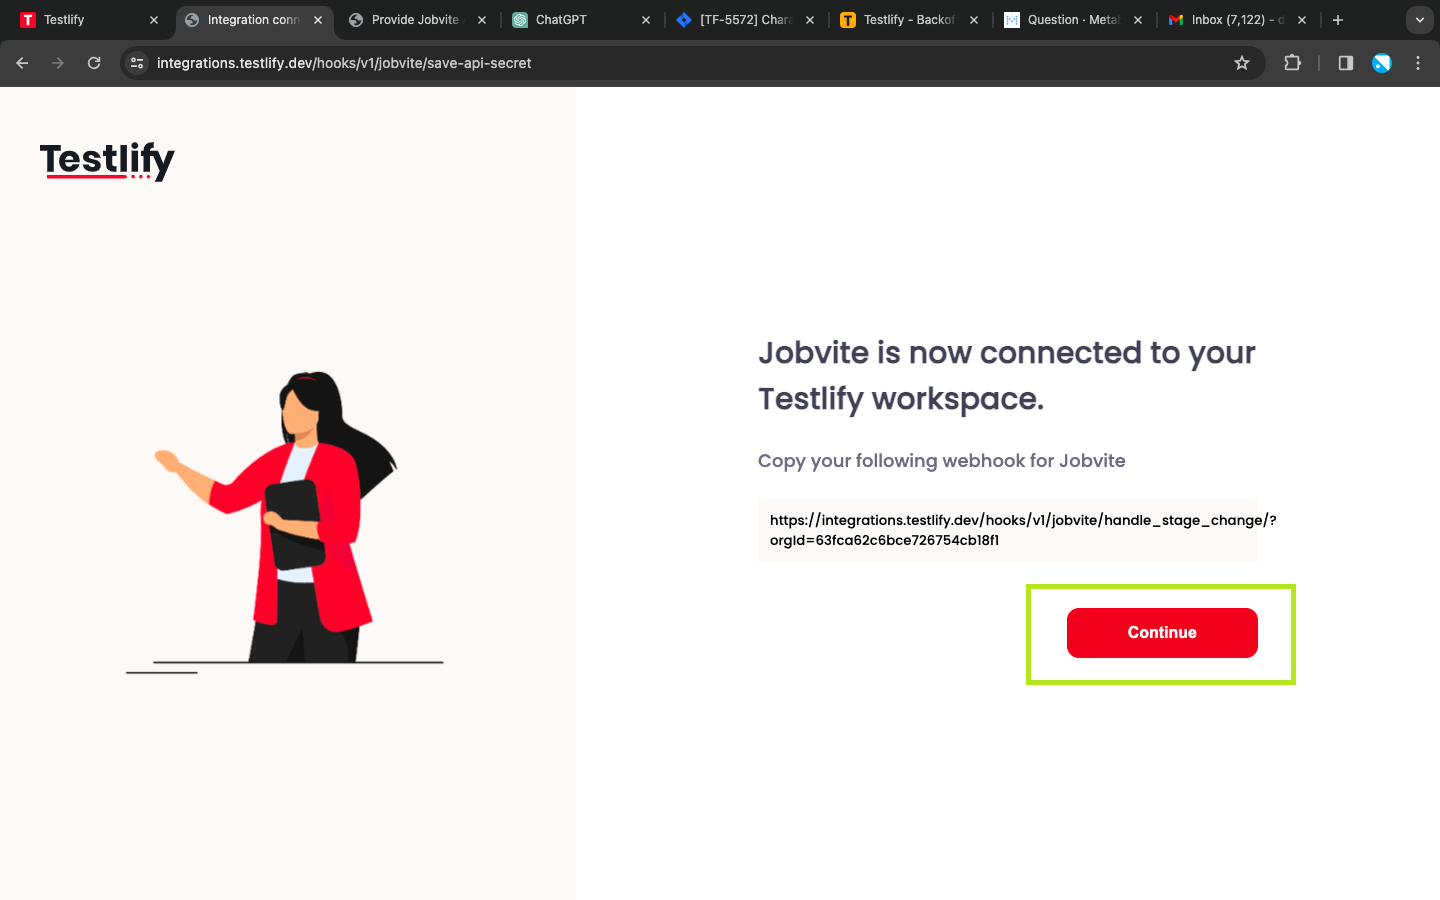
Enter the Jobvite API Key and Secret Key provided by Jobvite support, then click Save. Following this, you will be redirected to a new page where you should click Continue. And send the generated link to the Jobvite support team.
After clicking Continue, you will be redirected to another page. Refresh this page to confirm that the Jobvite Integration is now active.
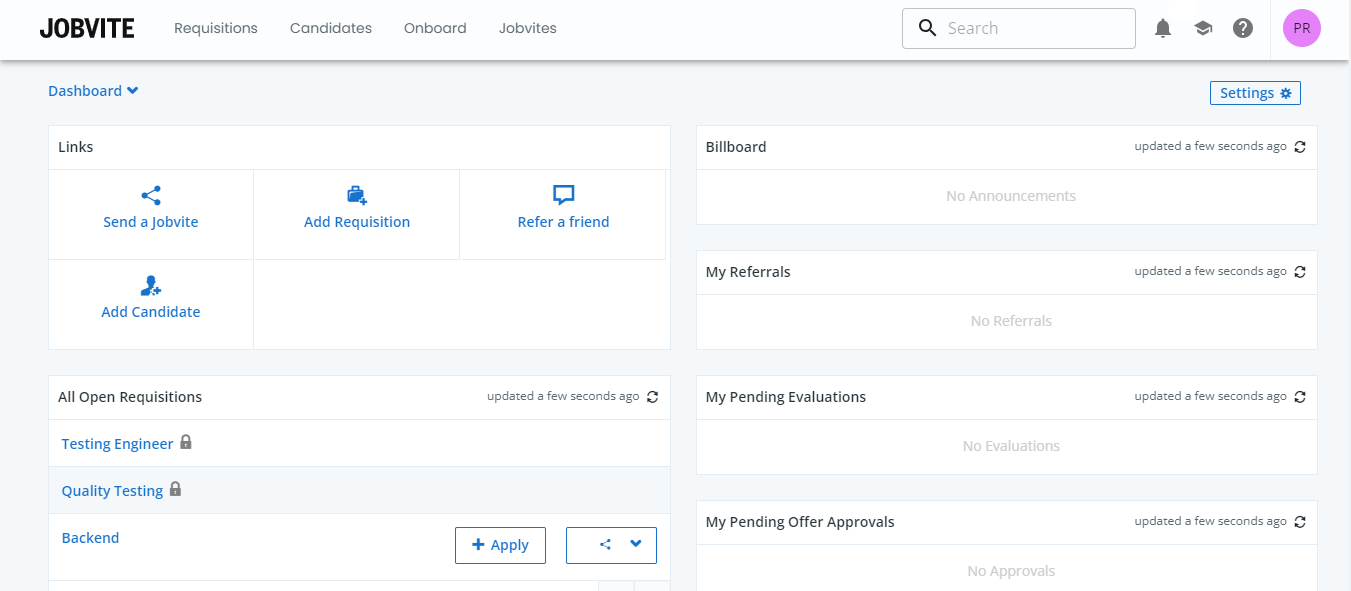
Logging into the Jobvite platform will bring you to the dashboard.
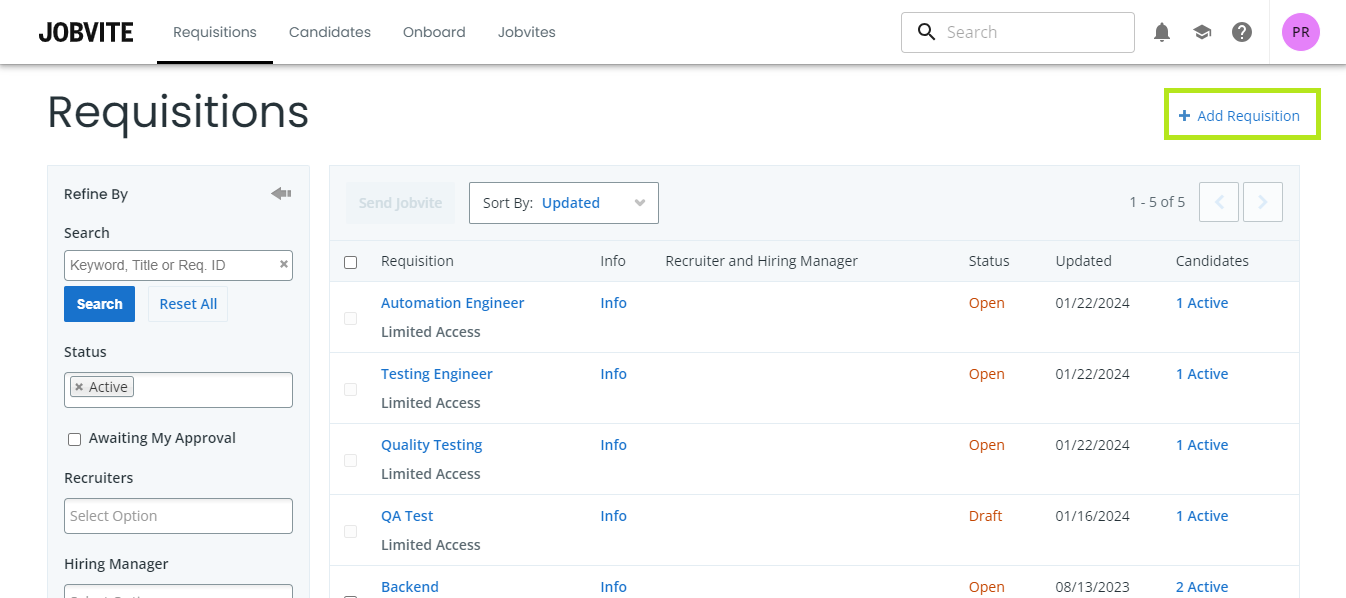
Proceed to select Add Requisition.
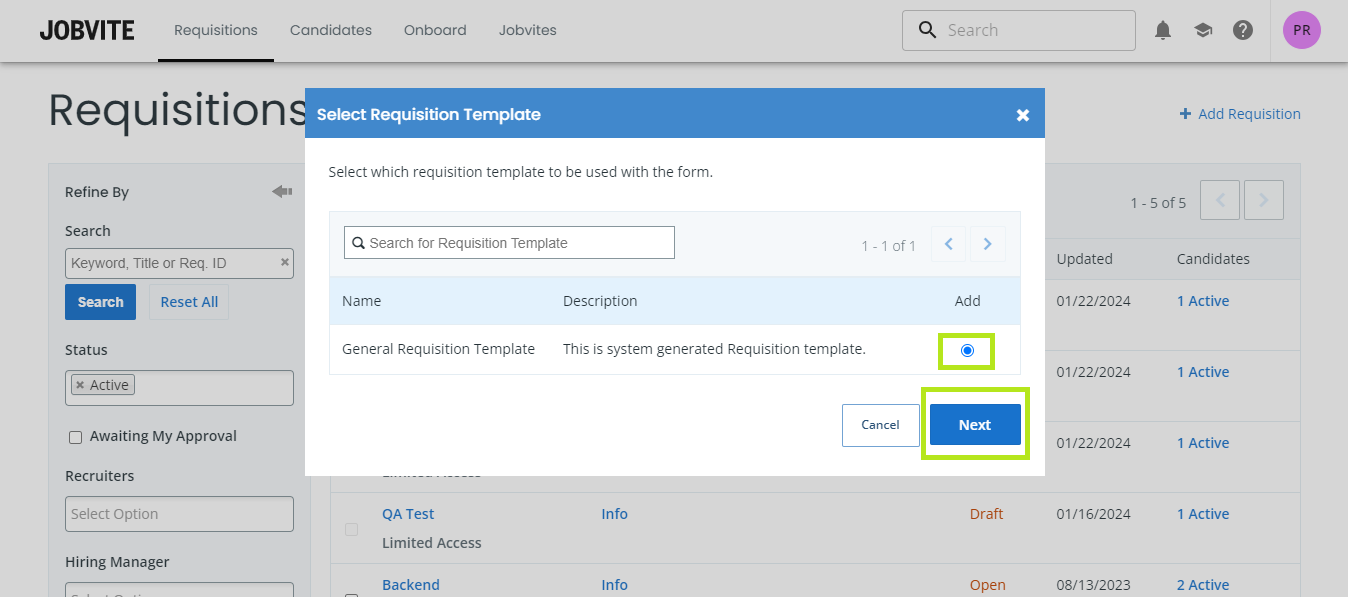
After selecting Add Requisition, choose the available template and click Next.
Complete the required fields. In the Testlify:Assessment:Title field, select from the assessments available in your Testlify workspace.
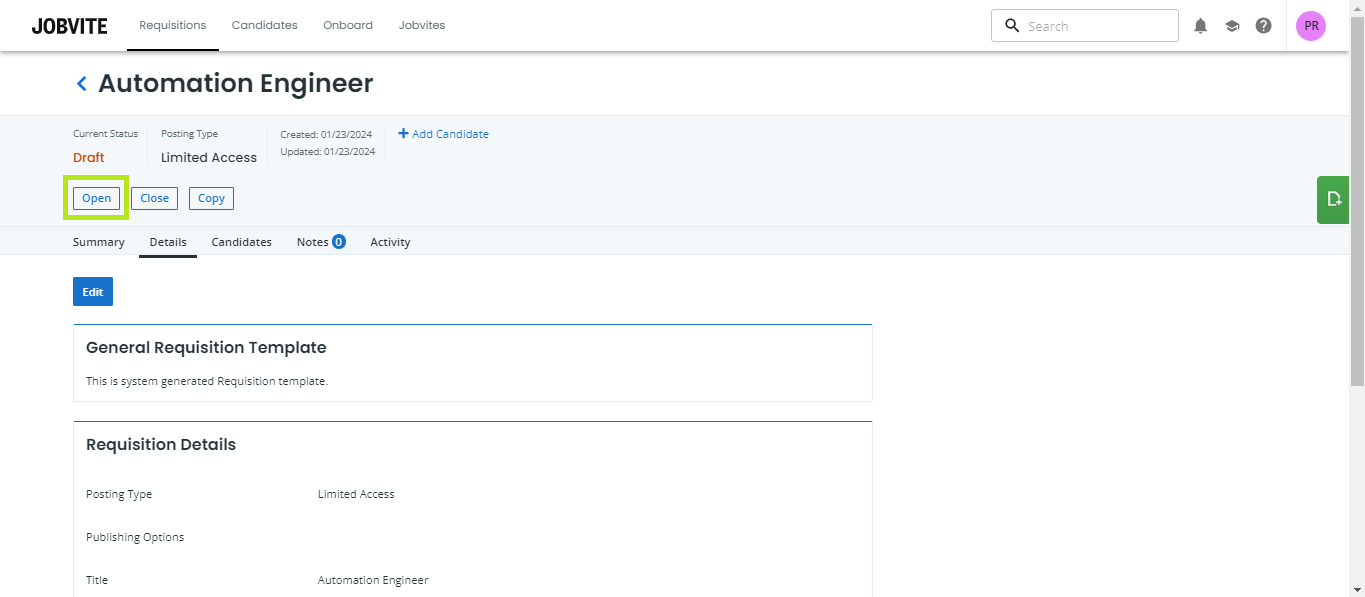
Choose the Open option.
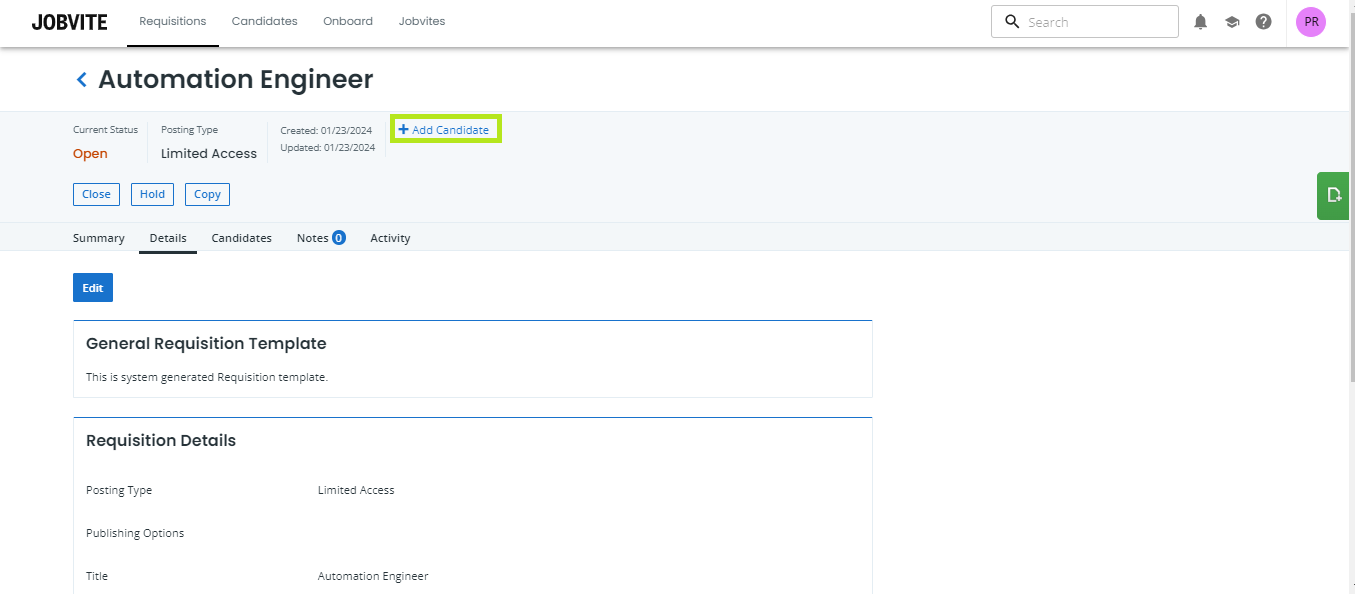
Click on Add Candidate.
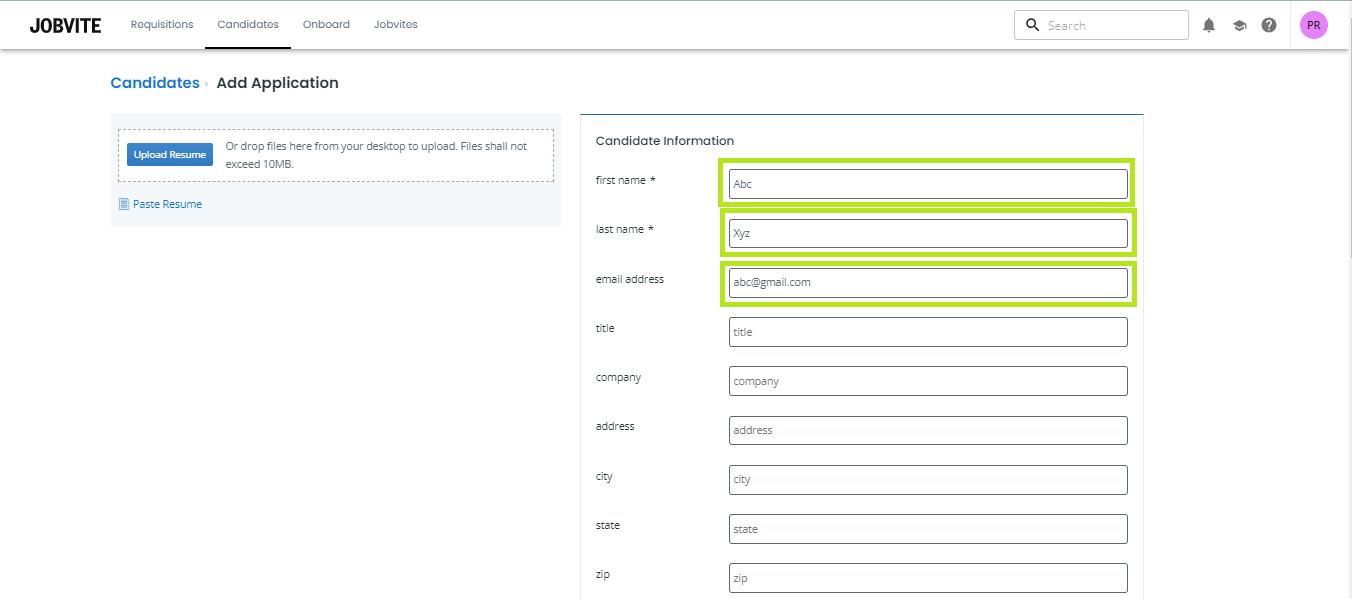
You'll be directed to this page to input first name, last name, and email address.
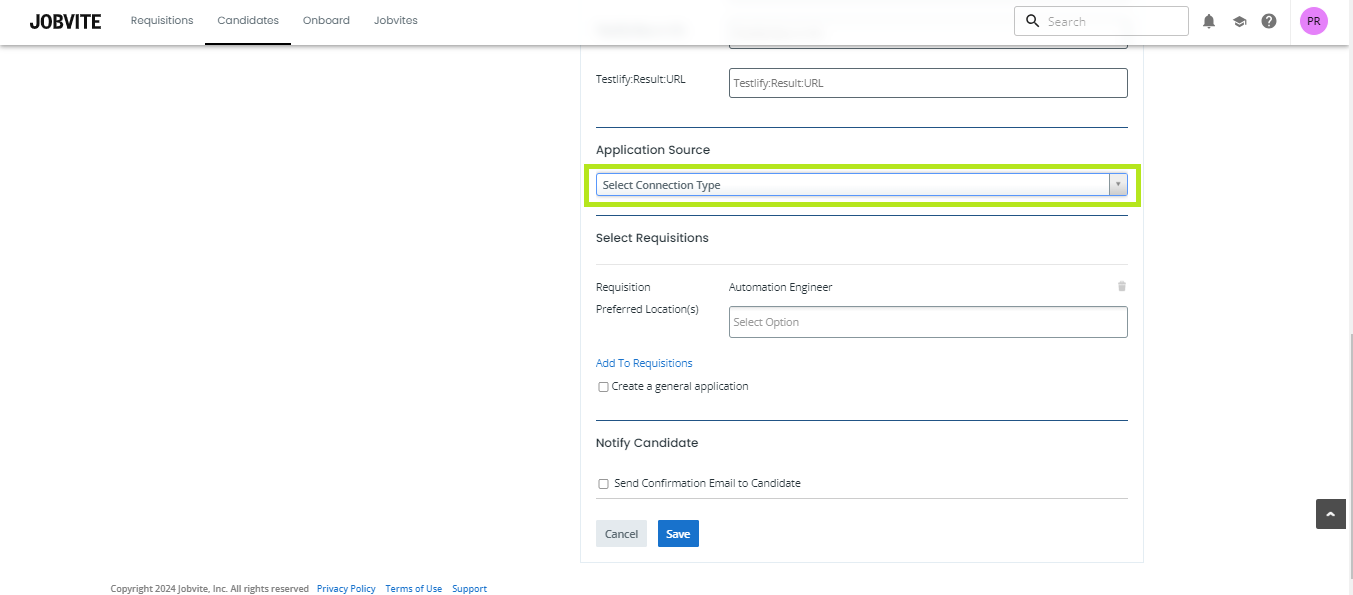
After entering these details, scroll down to the Application Source section. Under Select Connection Type, pick an option (e.g., Employee), and in the Assign to field, choose the appropriate assignee. Then, click Save.
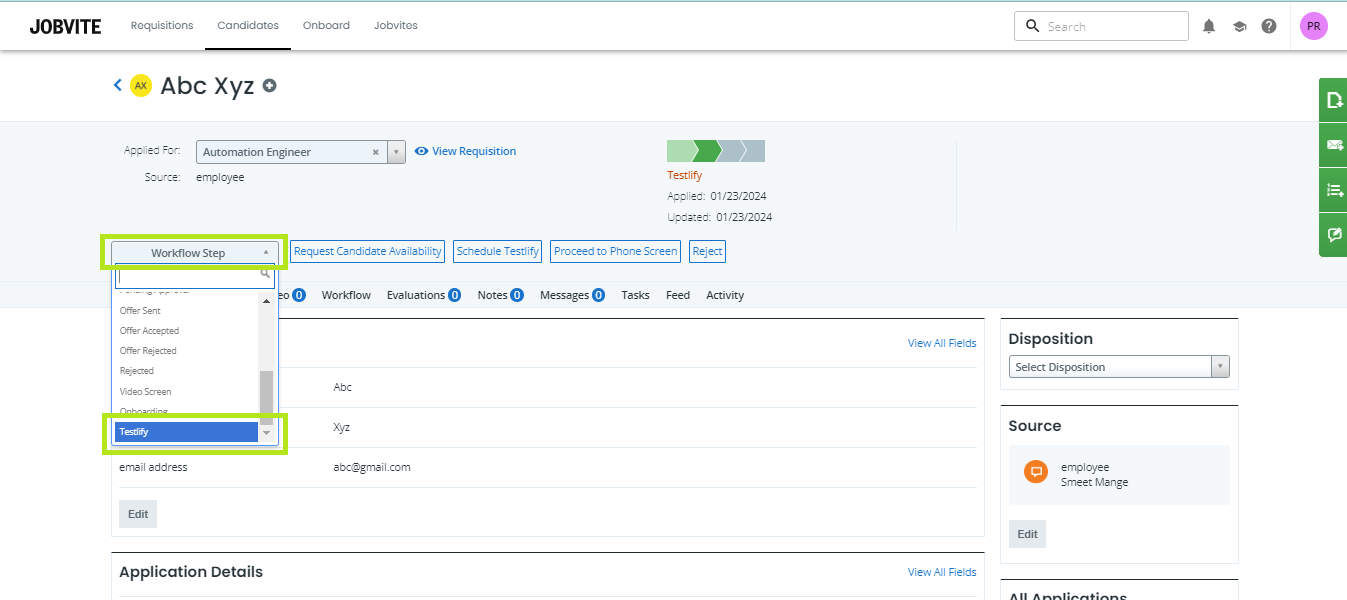
16. On the new page, in the 'Workflow Setup' field, select Testlify. Once Testlify is selected, the candidate will receive an invitation email. After the candidate completes the assessment, you'll be able to view the average score on the Jobvite platform.