
Zoho Recruit
- Install Zoho Extension / Enable integration
- Creating Assessment in Testlify
- Sending an Assessment to the candidate(s)
Install Zoho Extension / Enable integration:
- Search for the Testlify app in Zoho Recruit on Zoho extensions marketplace. Testlify extension is free to use Zoho Marketplace or Directly install the Testlify For Zoho Recruit.
- Upon opening the link, you will be directed to a page where you need to enter your email address. After entering your email, click on the "Next" button.

Please select the checkbox and proceed to click on the "Install Now" option.

- Then click on "Agree and Continue" to proceed.

- Here you can select the options you want the installation for. We recommend selecting "Install for all users" and then clicking on "Confirm".

- The extension will now be installed in your Zoho Recruit account. Once the installation is done you need to Authorize the integration to activate the extension.
Please proceed by clicking on "Authorize".
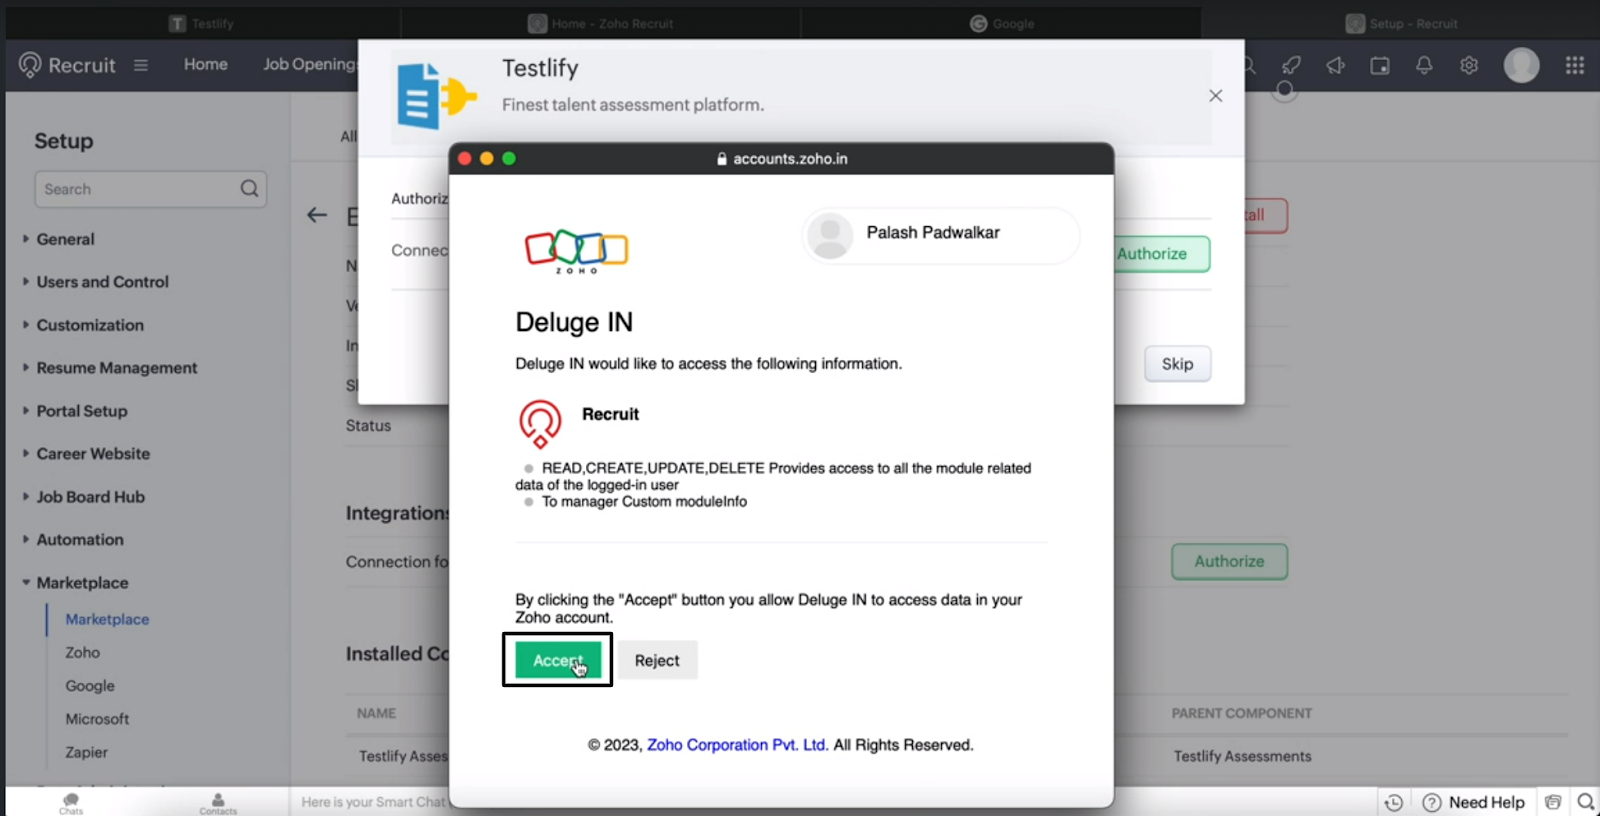
Then click on "Accept".
Now click on the "Finish" button.


- Once you have successfully installed and Activated the extension.
Navigate to the left side and click on the "Automation" tab. Then, locate the dropdown menu and select "Actions".
You need to click on Custom Functions. In Custom Functions you will find two different Custom Functions here you need to click on settings icon right before the update score function and then you need to click on Rest API.
- Once you click on the REST API option, you will get this page and you need to share this UrlToInvoke with the Testlify Support team. For this, Click on Copy to Clipboard. You can share this URL with the Testlify Support team via Helpchat or send an email to support@testlify.com .


Creating an Assessment in Testlify:
Go to your workspace and click on “Create a new assessment”.
After clicking on the "Create a new assessment" button, a pop-up will appear where you can choose a “Job role” or “Assessment name” of your preference. Once selected, you can proceed by clicking the “Next” button.
- Then you will be taken to this page which is Set up assessment.


You can add suitable tests from the available list of tests and Click Next.
Furthermore, you can also add questions utilizing the available features.
By accessing the settings options, you can customize and configure the settings for the particular assessment.
After clicking on the "Done" button, your assessment will be successfully created.
Upon completion, you will be redirected to an assessment detail page.


Sending an Assessment to the candidate(s):
Go to Zoho Recruit homepage and click on the three dots (Other Modules) and then click on Testlify Assessments.
- Once you get to see this page you can either click on Create Testlify Assessment or Import Testlify Assessments using CSV.

Click on Create Testlify Assessments.

- You will get to see this page of filling up the details.
- There are no restrictions on the Testlify Assessment Name.
- Enter the Email Id of the candidate to whom you want to send the Testlify Assessment.
- Select the Candidate Profile and Job Profile if present else you can keep it blank.
Please keep Testlify Assessment Status, Testlify Assessment Score and Testlify Assessment Report blank as it will be auto populated once the candidate completes the Assessment.
Login to Testlify, Open the Assessment you want to integrate. Copy the Assessment ID. Here you will get the Assessment ID when you click on the Key Icon.
- Now you need to paste the Assessment Id in the Testlify Assessment Id field.
- Once you have filled in all the details click on Save.
The Record will be created and the Assessment will be sent to the Candidates


Please reach out to support@testlify.com in case you need any support.