How to grant Screen Share access for your test
Granting screen share access is an essential step when taking an assessment that requires this feature. Here’s a step-by-step guide to ensure a smooth process:
- Starting the Assessment
- Open the invitation link provided to you for the assessment.
- After enrolling and starting the test, you’ll first land on the instructions guide page.
- Completing Initial Checks
- On the instructions page:
- Provide camera and microphone access if prompted.
- Your browser compatibility checks will automatically run.
- If everything is fine, the "Looks Good" button at the bottom right will become active.
- Click the "Looks Good" button to proceed.

- Screen Sharing Requirement
- Once you move forward, you’ll reach a page indicating that the assessment requires screen sharing.
- A guide on this page will explain the process briefly.
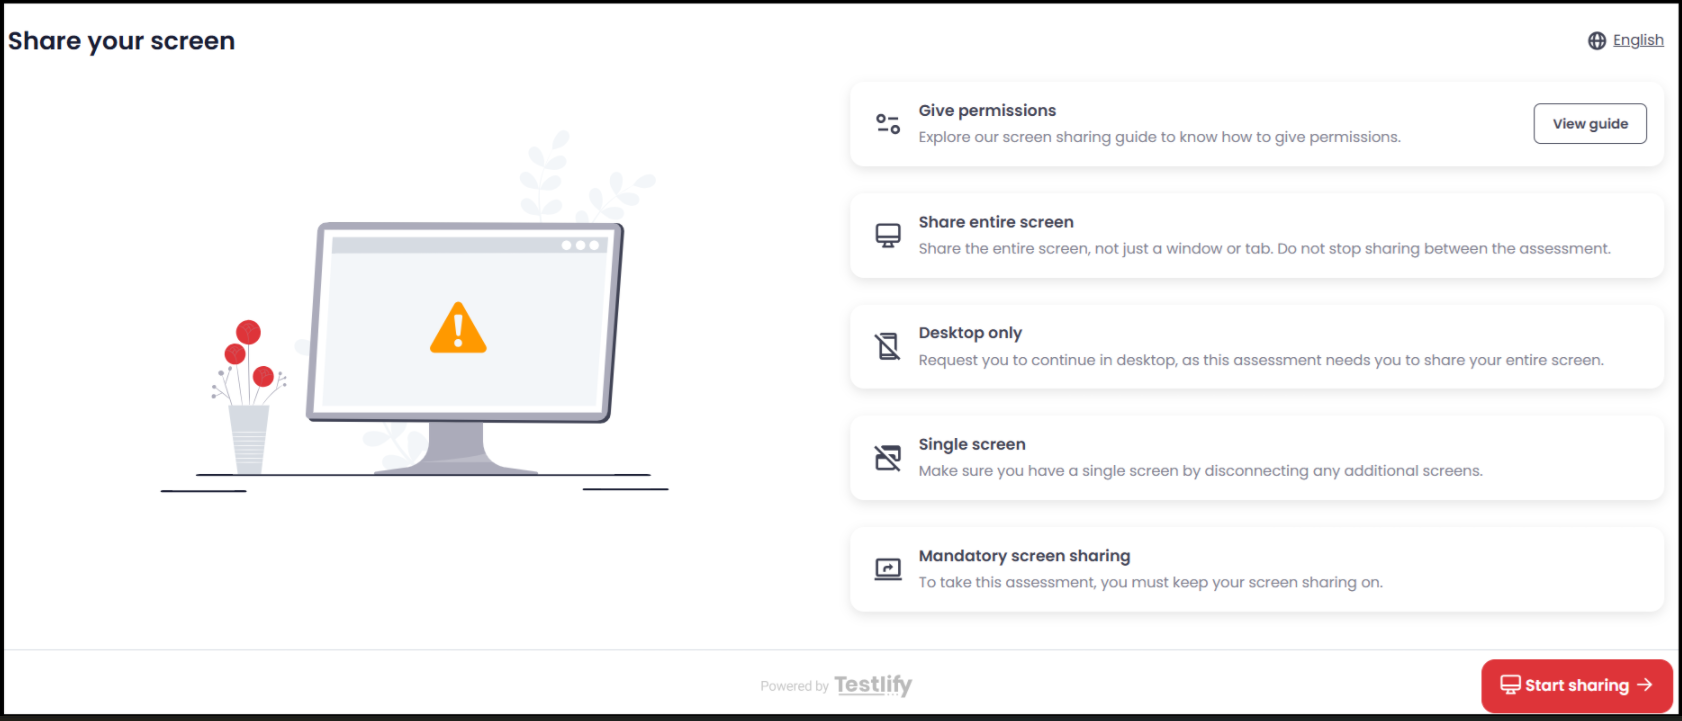
- Granting Screen Share Access
- Click Start Sharing to proceed to the assessment.
- A screen share pop-up will appear.
- In the pop-up:
- Select "Entire Screen" from the available options.
- Click "Share" to grant access.

- Proceeding with the Test
- Once screen sharing is enabled, you can continue with the assessment seamlessly.
Note: Ensure you’re using a compatible browser (preferably Chrome) and have a stable internet connection for an uninterrupted experience.
If you have any further questions, feel free to reach out to talent@teslify.com